For my 2nd woodworking project I made another stool:

This was in reaction to my 1st stool (see it here):
So I decided to make a stool that'd be butt-scooped and more stable. Side effect: since chair is scooped and therefore "3D", it probably rules out plywood, so I can have a shot at working with solid wood.
Played in Inkscape to visualize what the seat could look like, plus how big the legs would need to be (they eventually wind up bigger). The chair's size is also guided by what plank dimensions are offered from a local wood supplier I've found.

For this design I've opted for 2 diagonal bracers forming a cross, they will support the center of the seat and attach to the legs (in hindsight, not a good design. More on this at the end).
With a rough plan in mind, i went to buy some pine.
The stock for the seat is made from a roughly 80cm long x 20cm long plank, sawn in half length-wise, then glued together along its edges (giving a 40cm x 40cm panel). From that panel I'd then be able to cut out the shape of the seat.
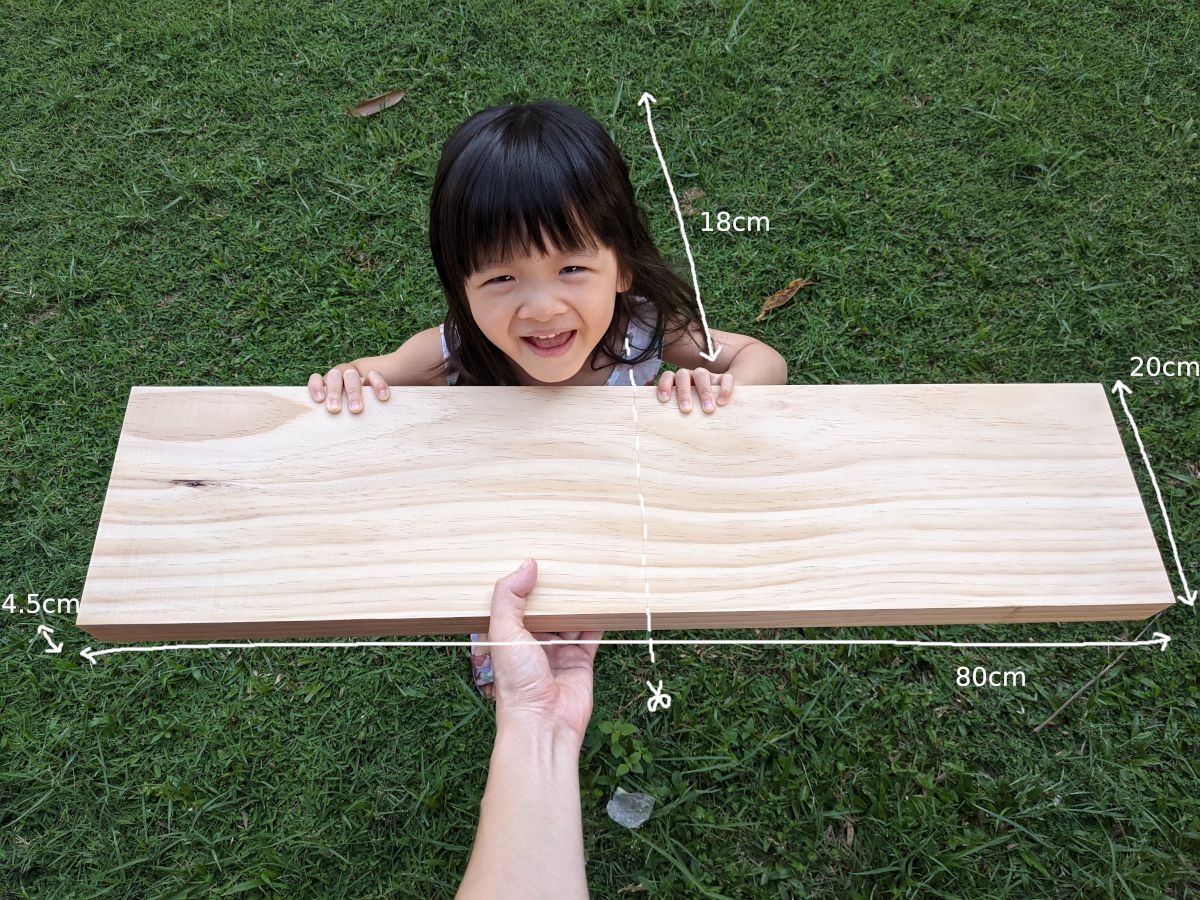
The plank is the thickest thickness available, 4.5cm, because it turns out the supplier sells it nearly the same compared to thinner 3cm ones. I reasoned that 4.5cm should be thick enough to scoop a ~2cm deep hole, while still leaving enough wood behind, so that it won't break when someone sits.
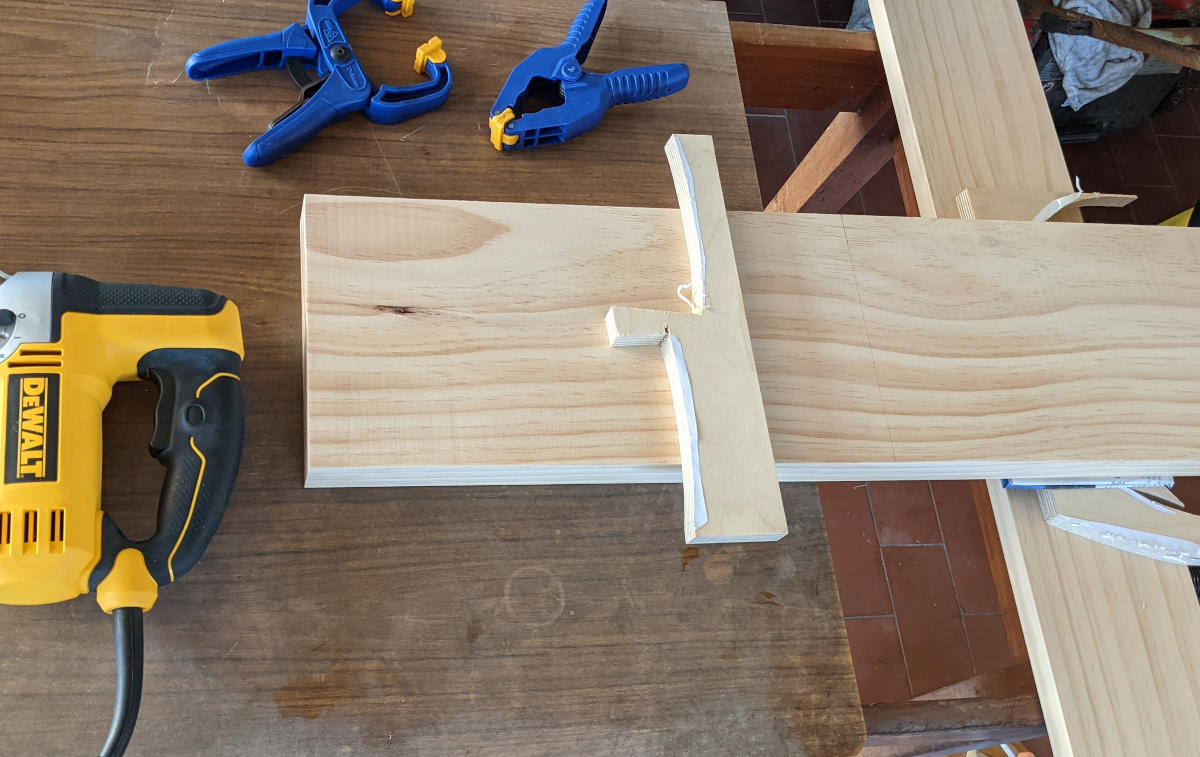
Right before sawing in half
Cut it, put the 2 halves together, and discovered learning number 1: never assume you're going to get your planks square from the supplier (even when they say it's planed).

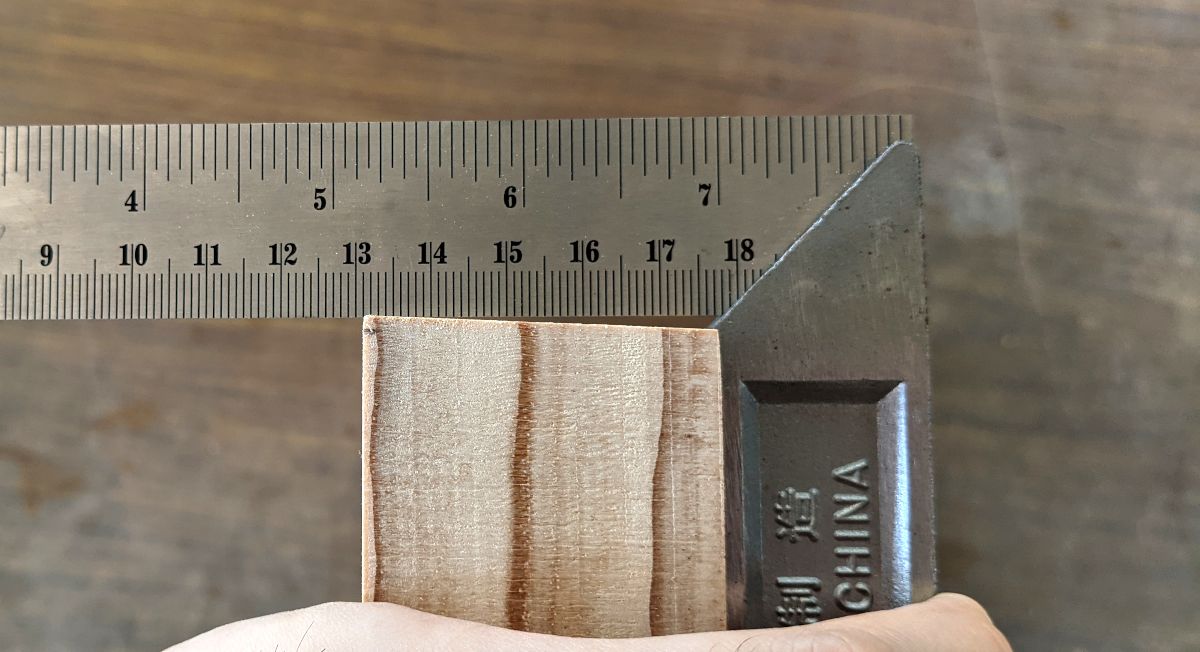
Looked like time to buy a hand plane, to plane the edge into squareness. Bought a super cheap construction-grade plane for S$11 (couldn't yet justify spending ~S$60+ on a "proper" handplane), then got to work flattening its sole and sharpening its blade on sandpaper.
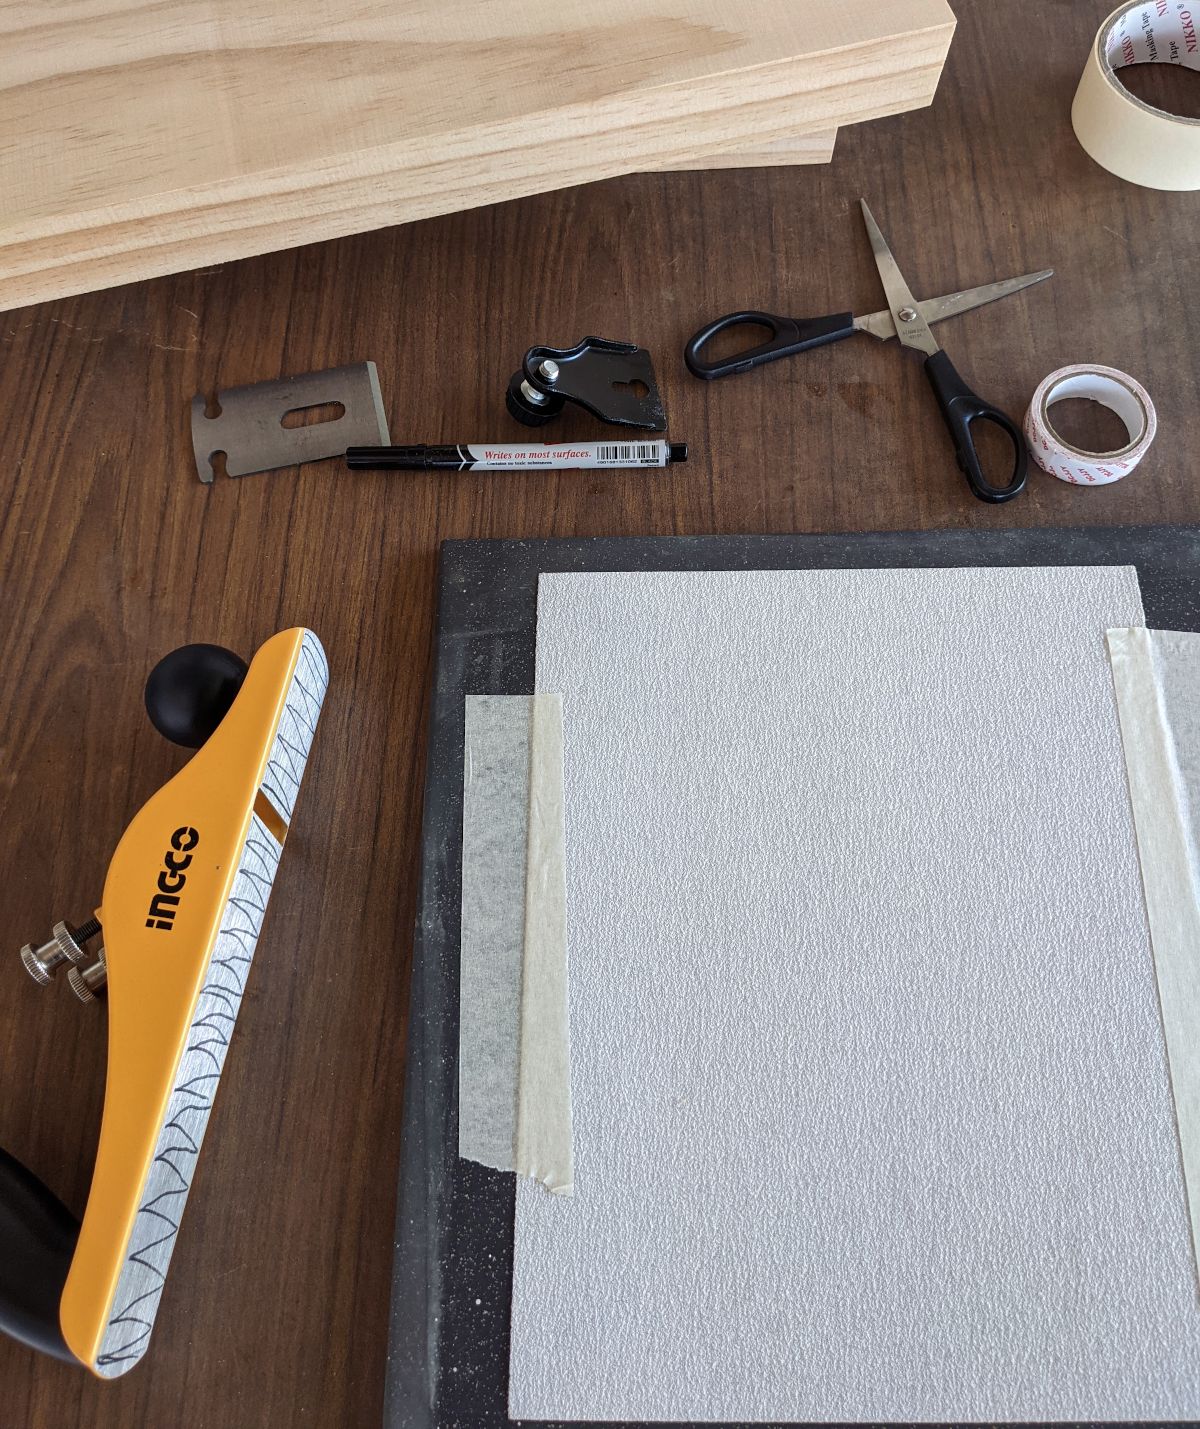
Typical sole flattening trick: drawing across it with a marker, then sanding until all marks disappear
These are the first few shavings I got from the plane. Despite following Youtube advice on sharpening and setting the plane as best as I could, the plane would keep getting stuck, and would nick the surface, didn't feel like a smooth experience:
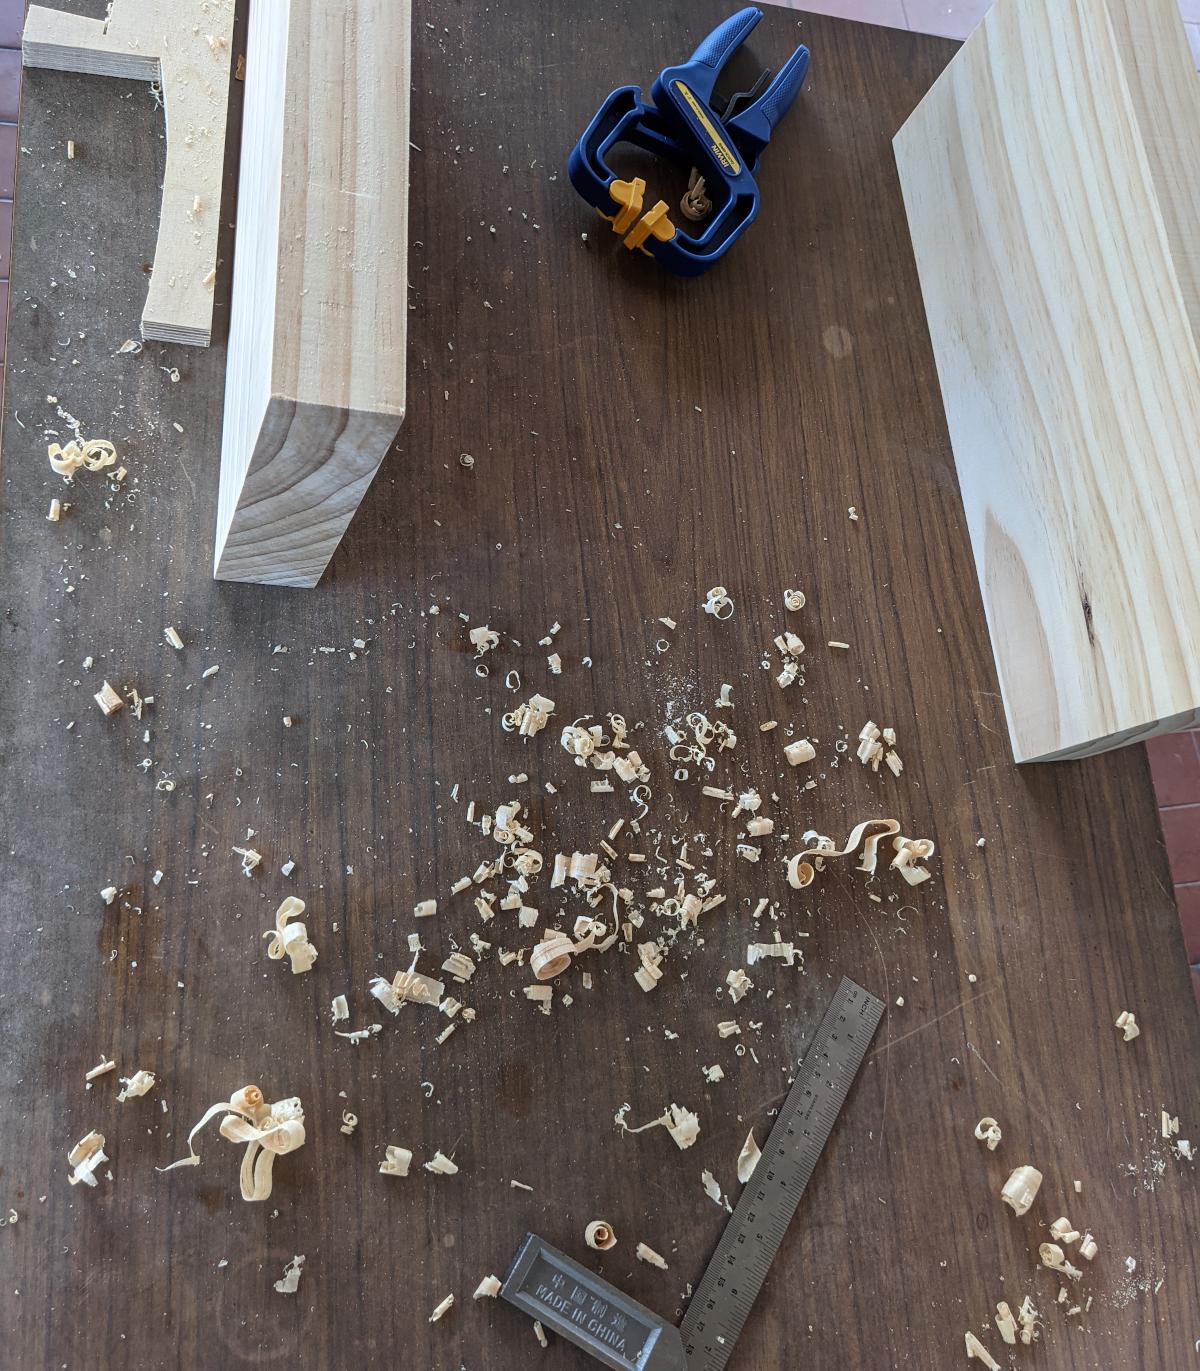
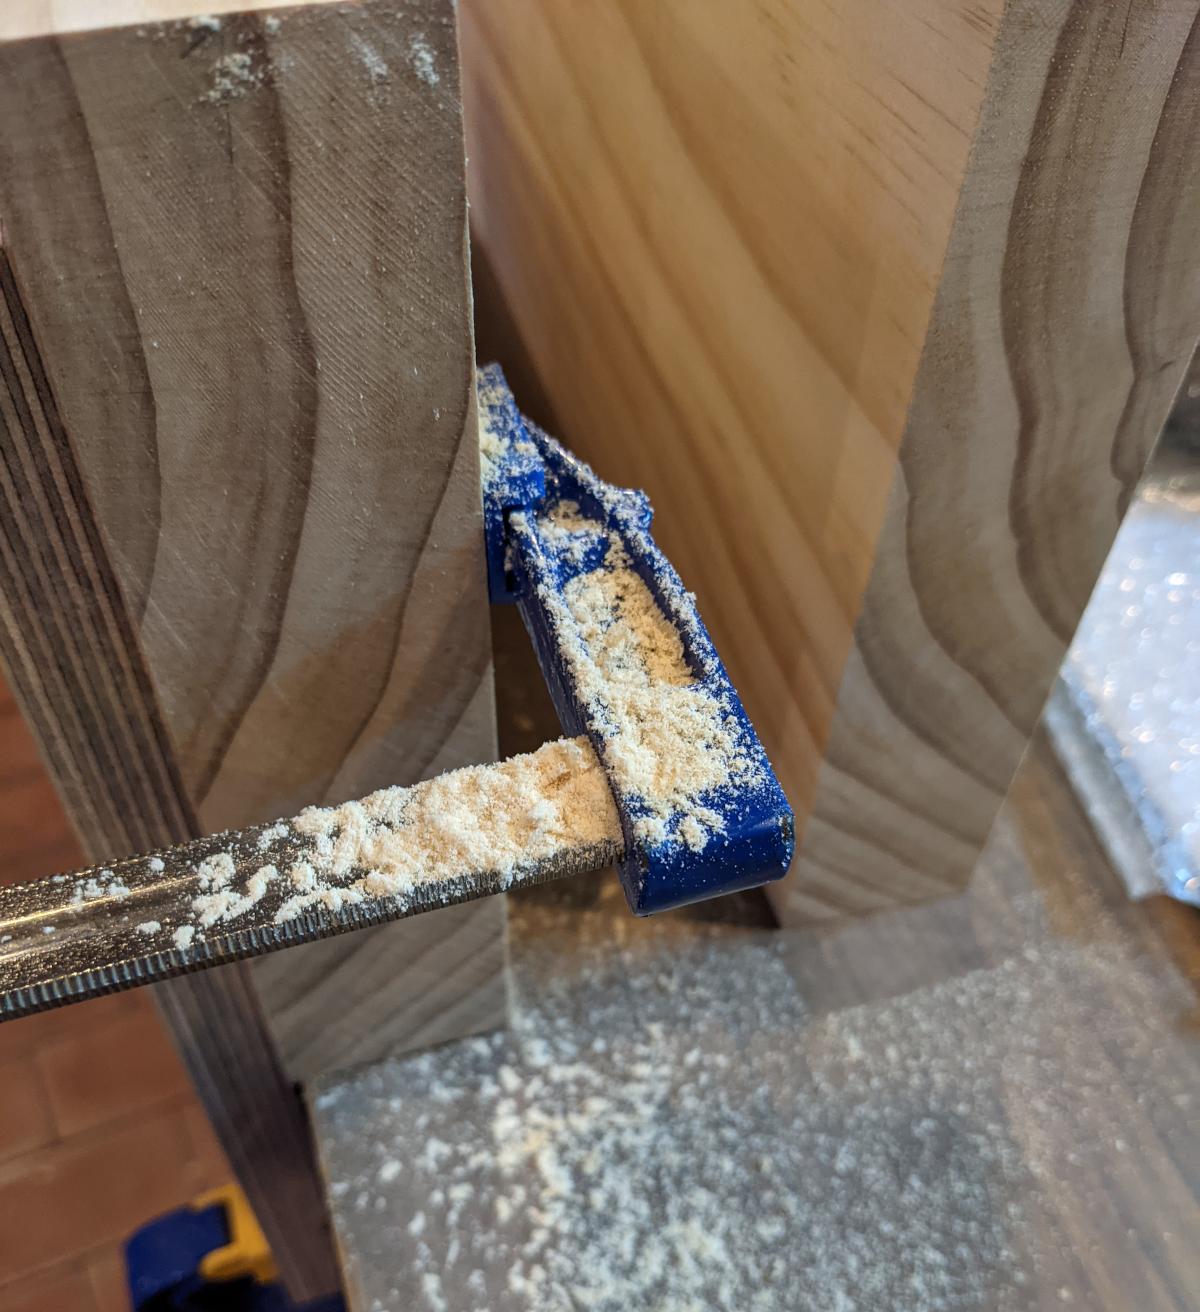
Dialing the plane's aggressiveness of cut back made for a smoother experience, and it would shave off fuzzy sawdust as a result. But it only removes a bit of wood at a time. This is still a far cry from YouTube planes that shave off wispy whole strips of wood shavings.
After many sessions of planing the edges, trying to get them square + gapless between each other (this took multiple on-and-off sessions over weeks), they were worked to a point where I finally felt confident to glue them up:
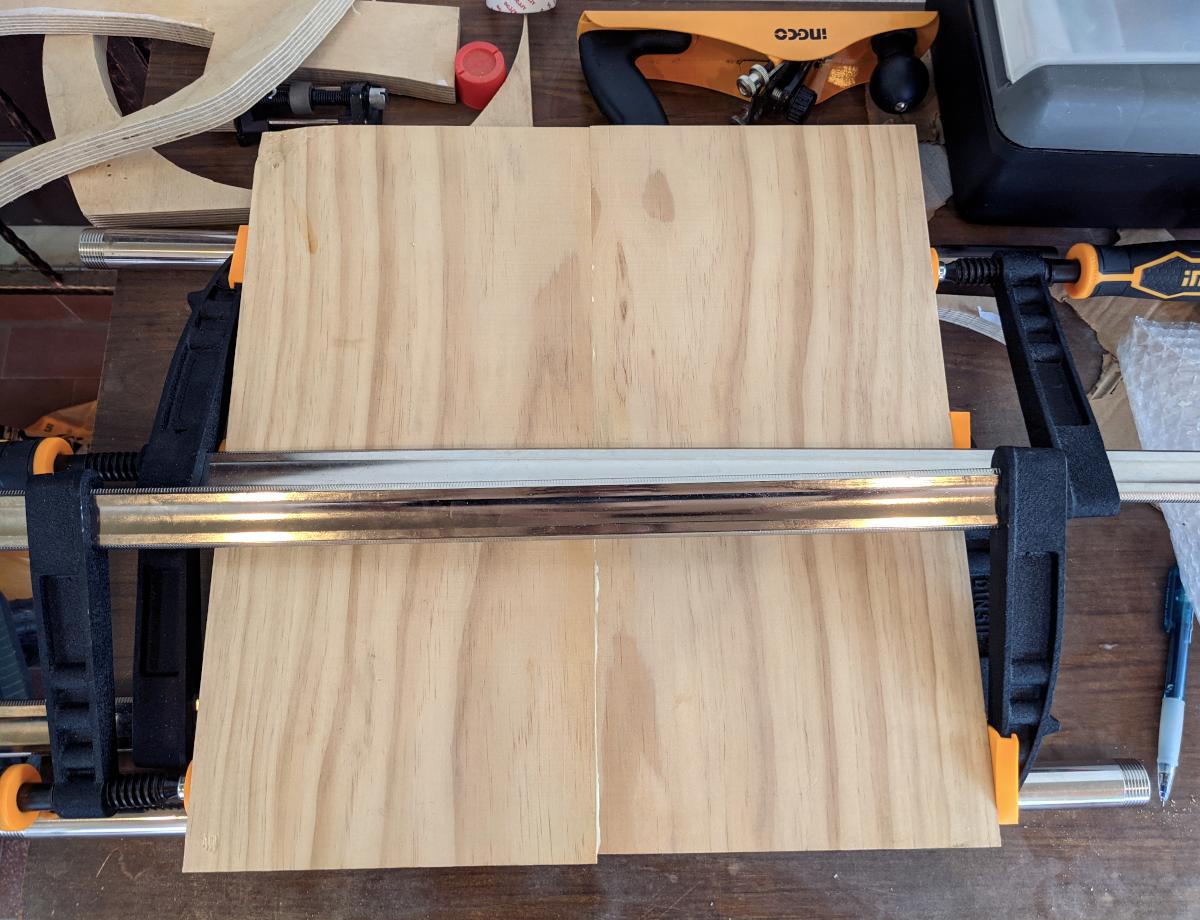
Another rookie mistake: allowing the glue to contact the metal of the clamp (instead of placing plastic wrap between them). The glue reacts with the metal, and both wood and metal end up stained
Lots of room to improve on efficiency here. Either 1) get better at sharpening and using planes, or 2) get access to chop saws or table saws.
After the glue dried, 2 things in this pic:
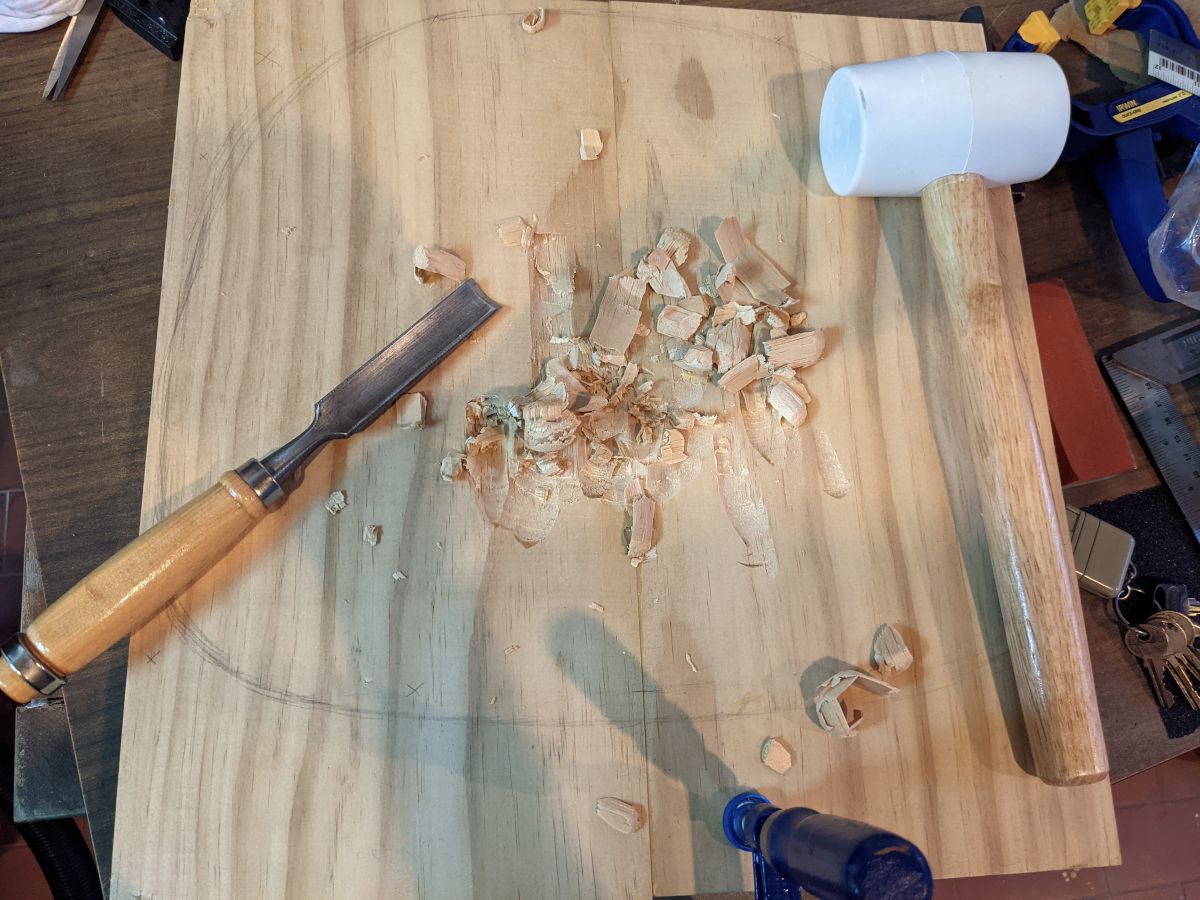
And so it was chipping...
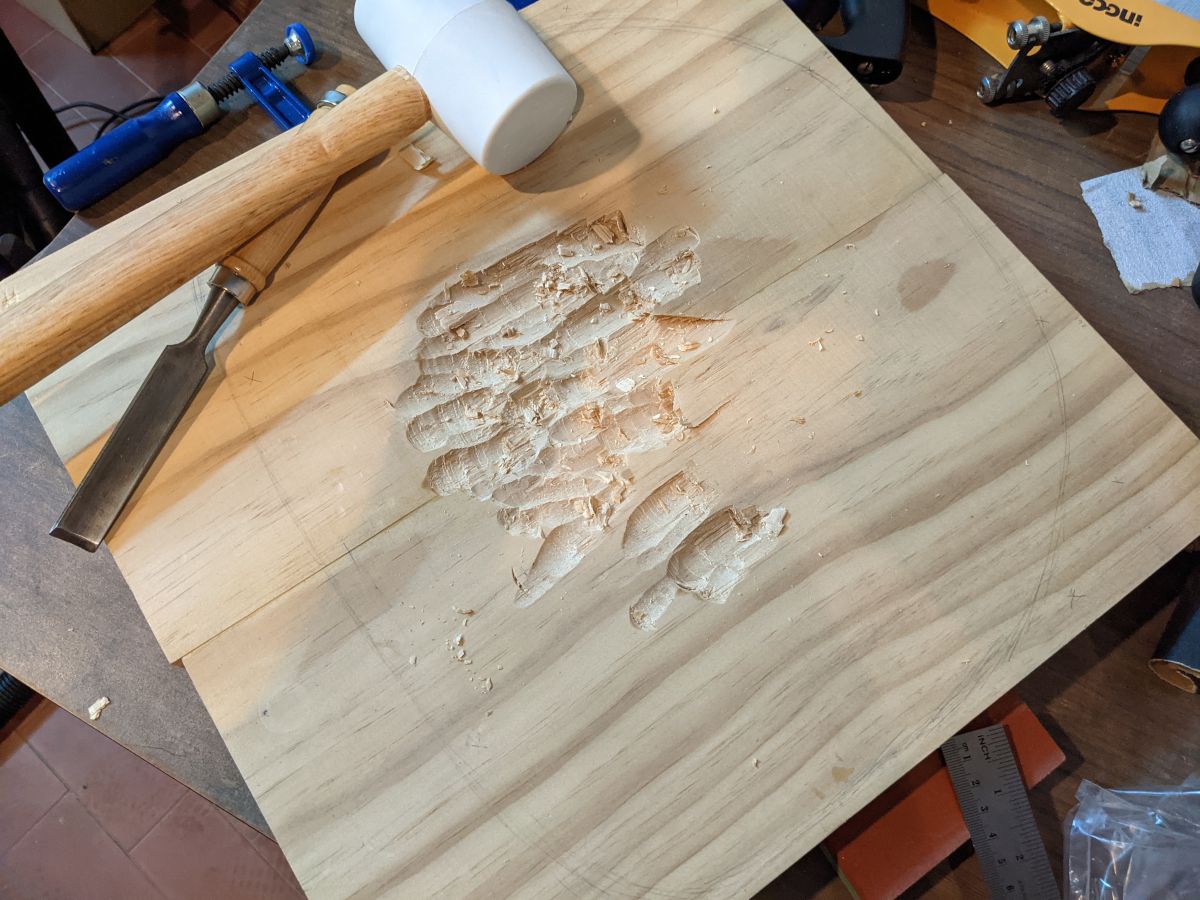
and chipping...

and chipping (at this point I also got brave enough to cut the outline with a jigsaw)...
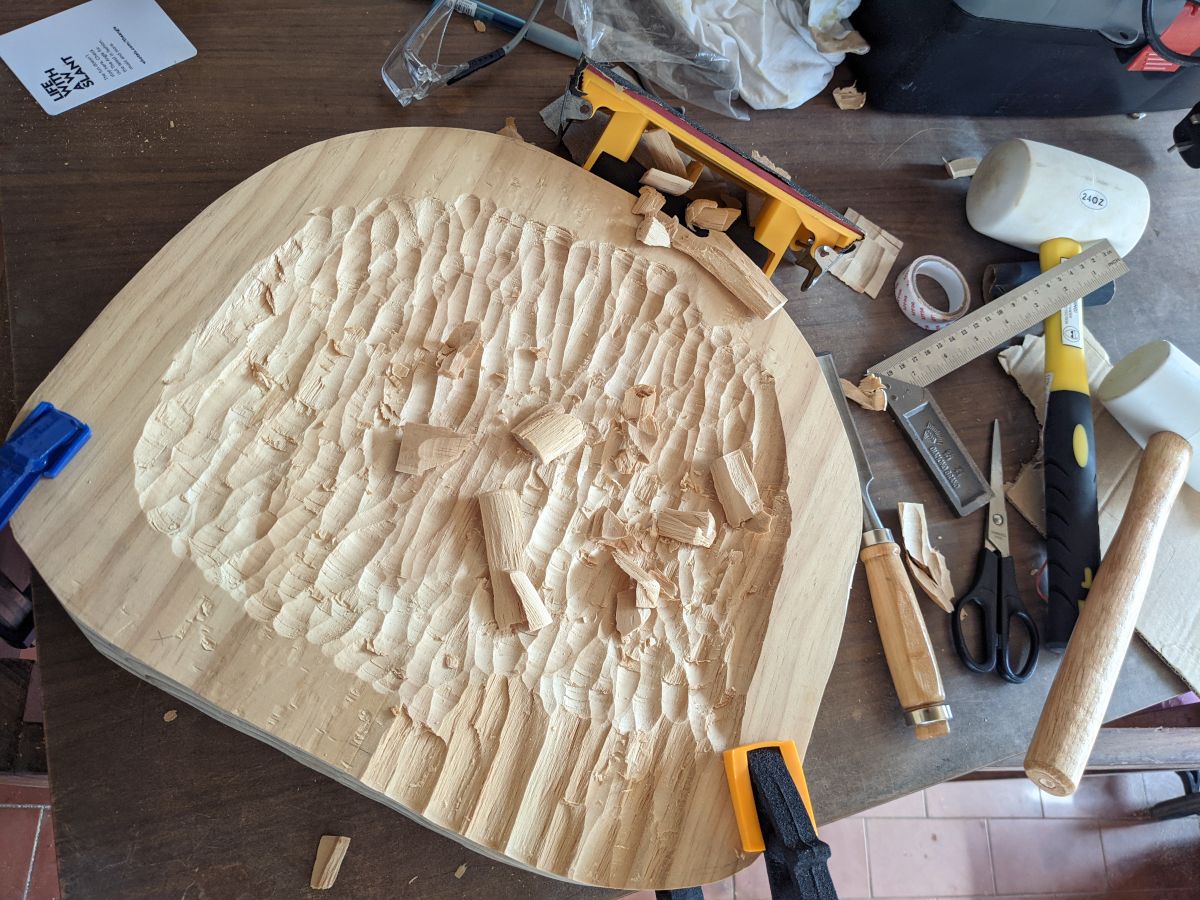
and chipping... (also bringing in a laminate trimmer with a carving ball attached)
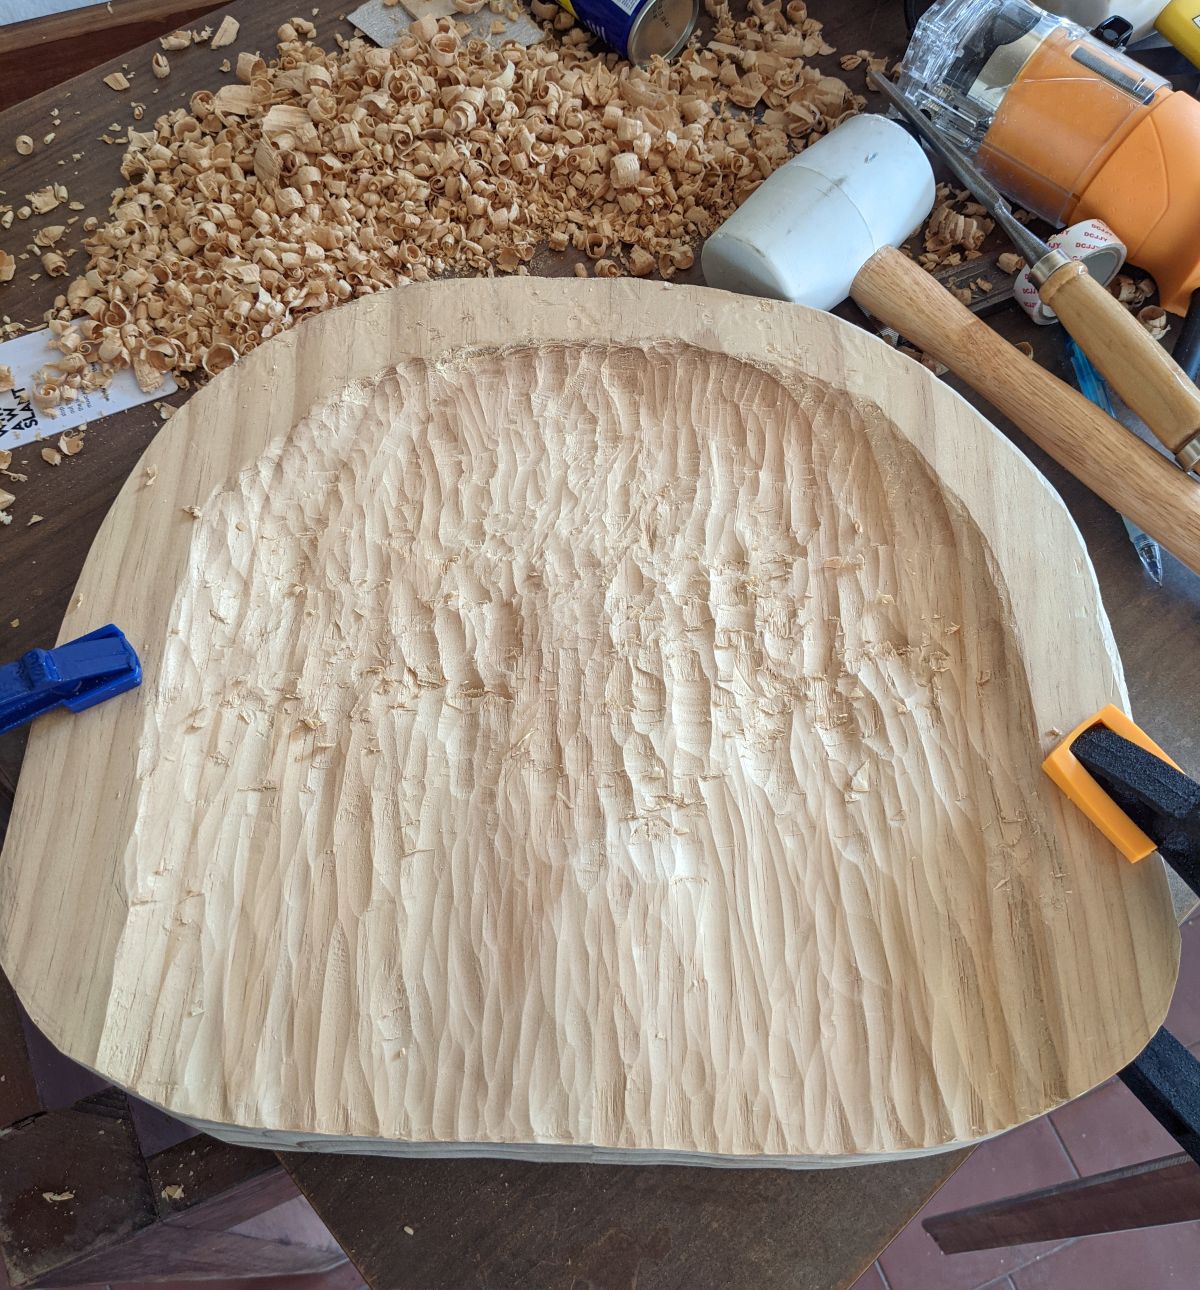
And now I have something that kinda resembles a seat.
But chipping and throwing away all those wood chips felt a bit wasteful (and rather disrespectful to the tree). Should try to design for less waste in future.
Taking a break from chiseling for a while, and turning my attention to what's below. Cut out some cardboard mockups for the legs, and decided that those legs need to become chunkier:

BTW: That black stain on top is the glue-and-clamp stain I was talking about
Marking out chunkier legs and diagonal bracers:
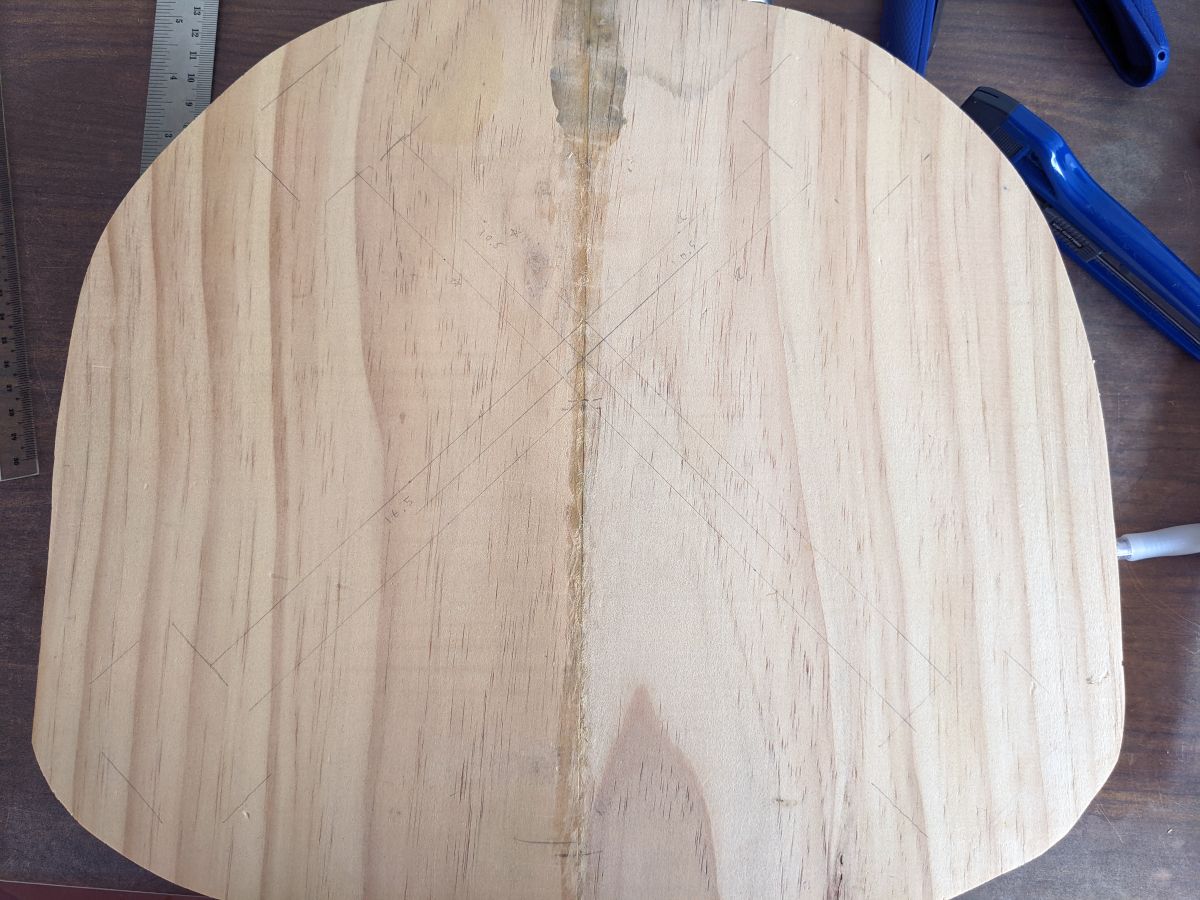
Jigsawing bracers from a 20mm-thick plank off camera, and marking them for a cross lap joint:
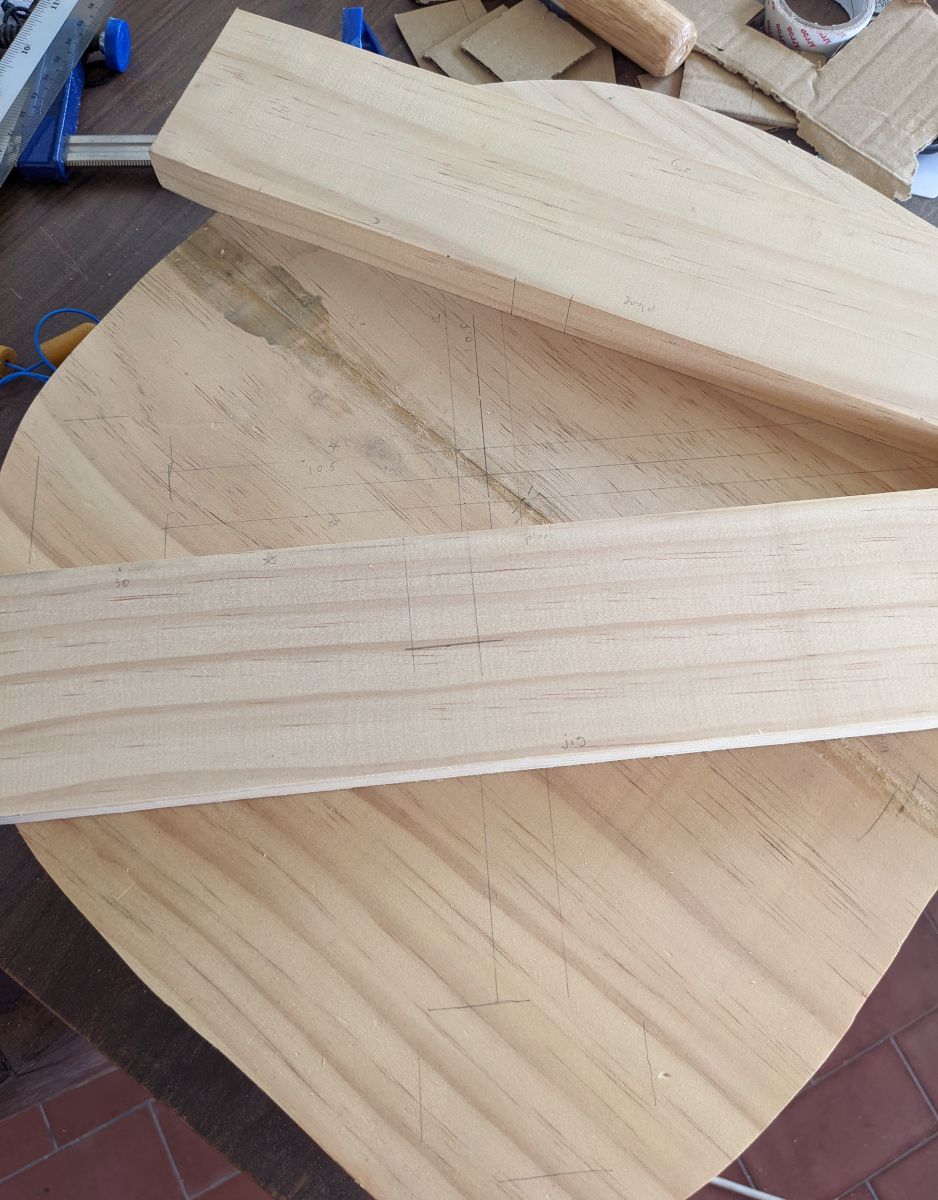
And voila a cross-lap joint (forgot to snap sawing and chiseling):
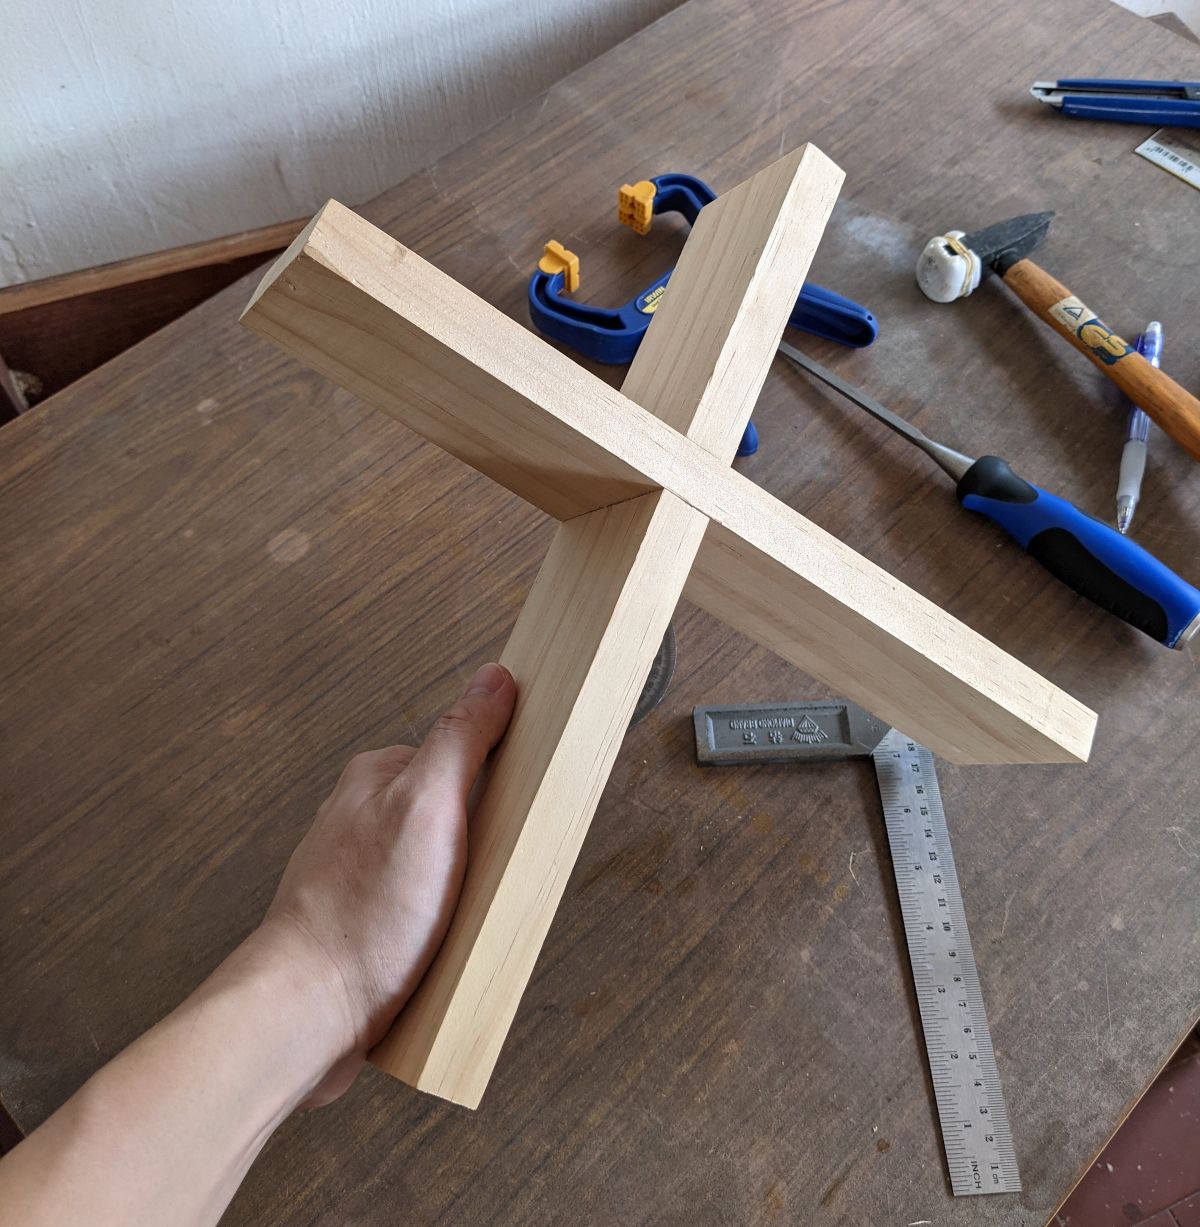
a sliding dovetail joint sounds secure enough to fix the bracers to the legs, so I cut tails on the bracer ends. My first ever tails, thought they turned out alright:

4 tails done:

Right side up. This was also after I sanded the seat off-camera with my sander, finally getting the seat to look reasonably sittable:
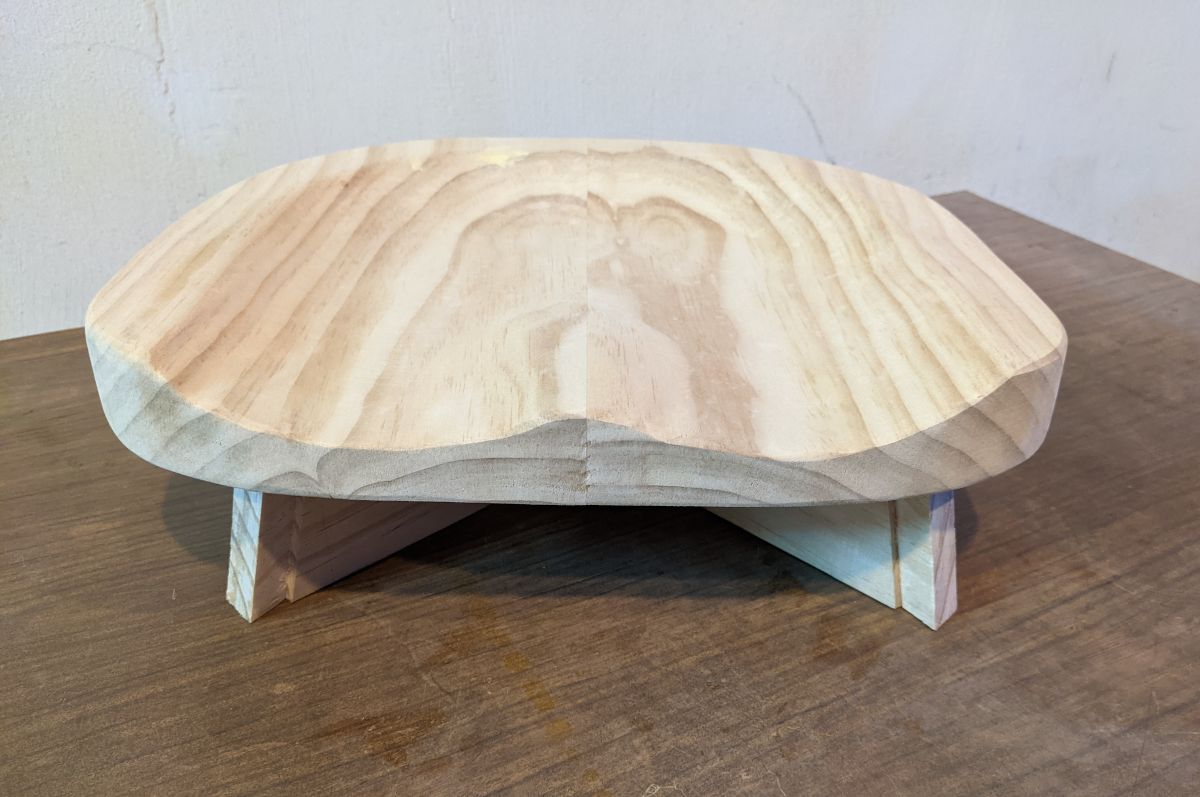
Now to cut stock for the legs:

Legs cut, displayed next to the disassembled bracers:
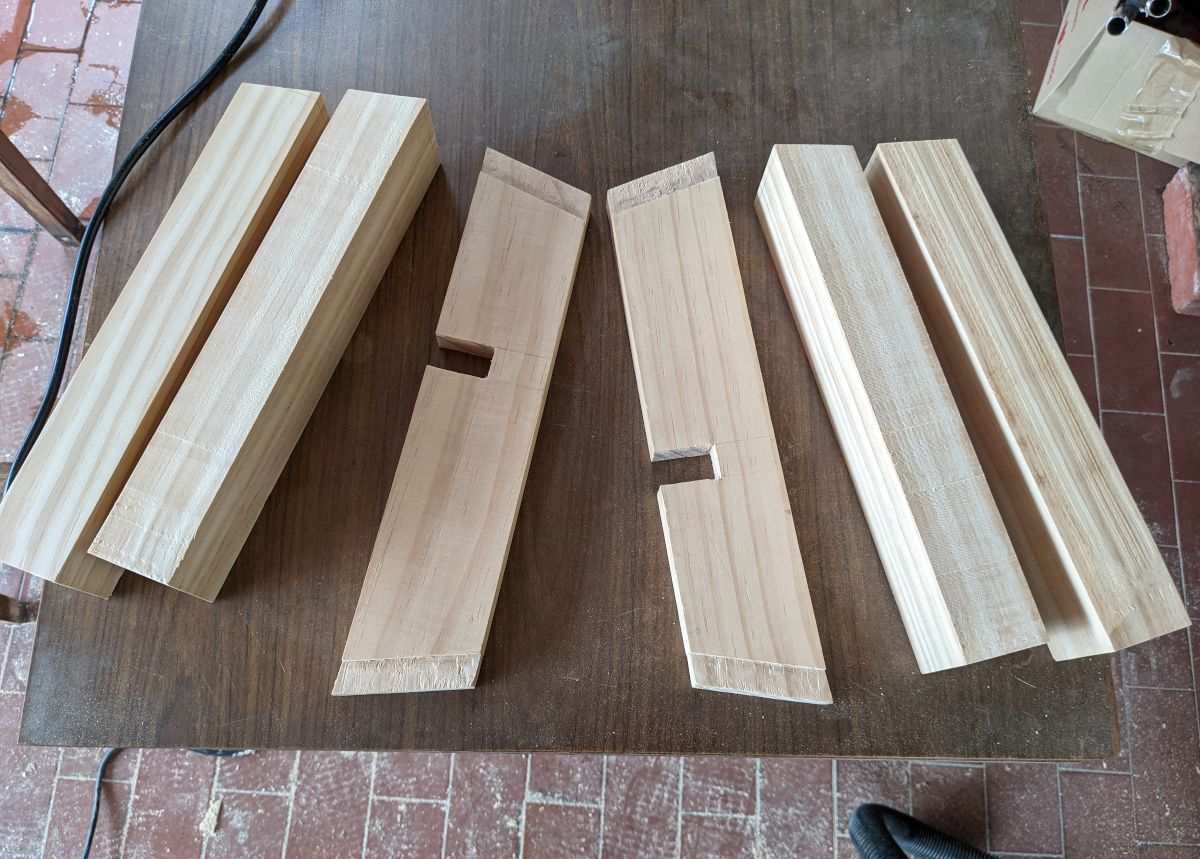
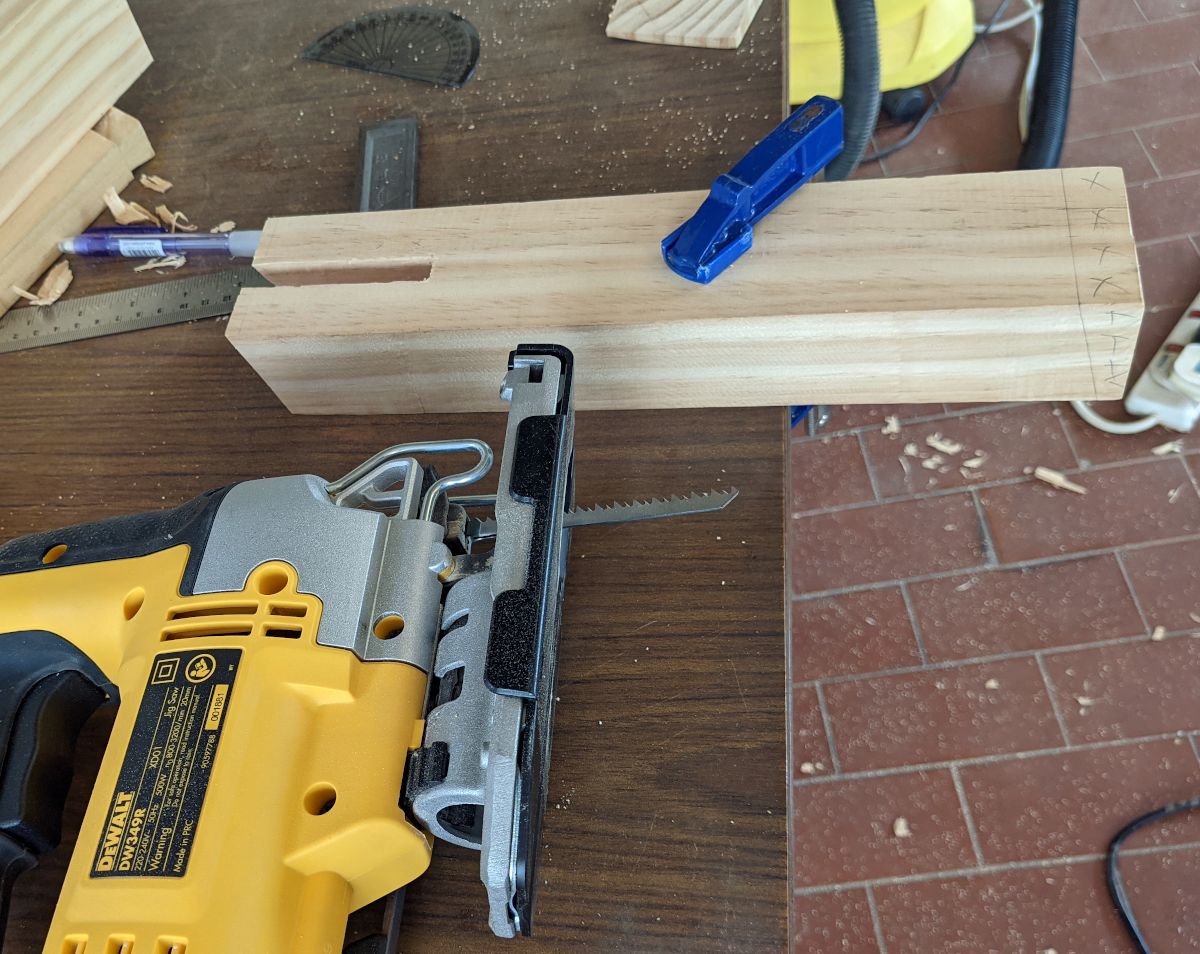
Now to cut slots for the dovetails to slide into. Marking the slot:
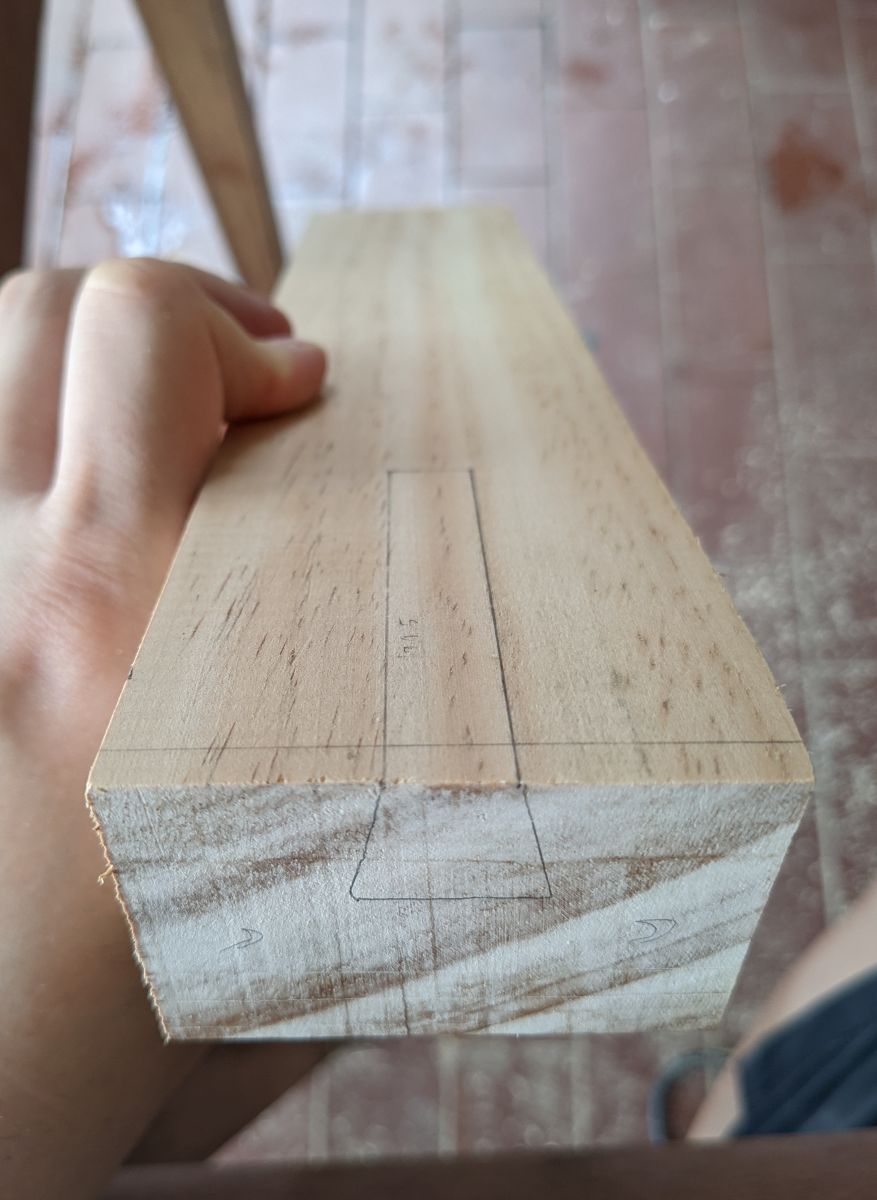
Chiseling a knife wall:

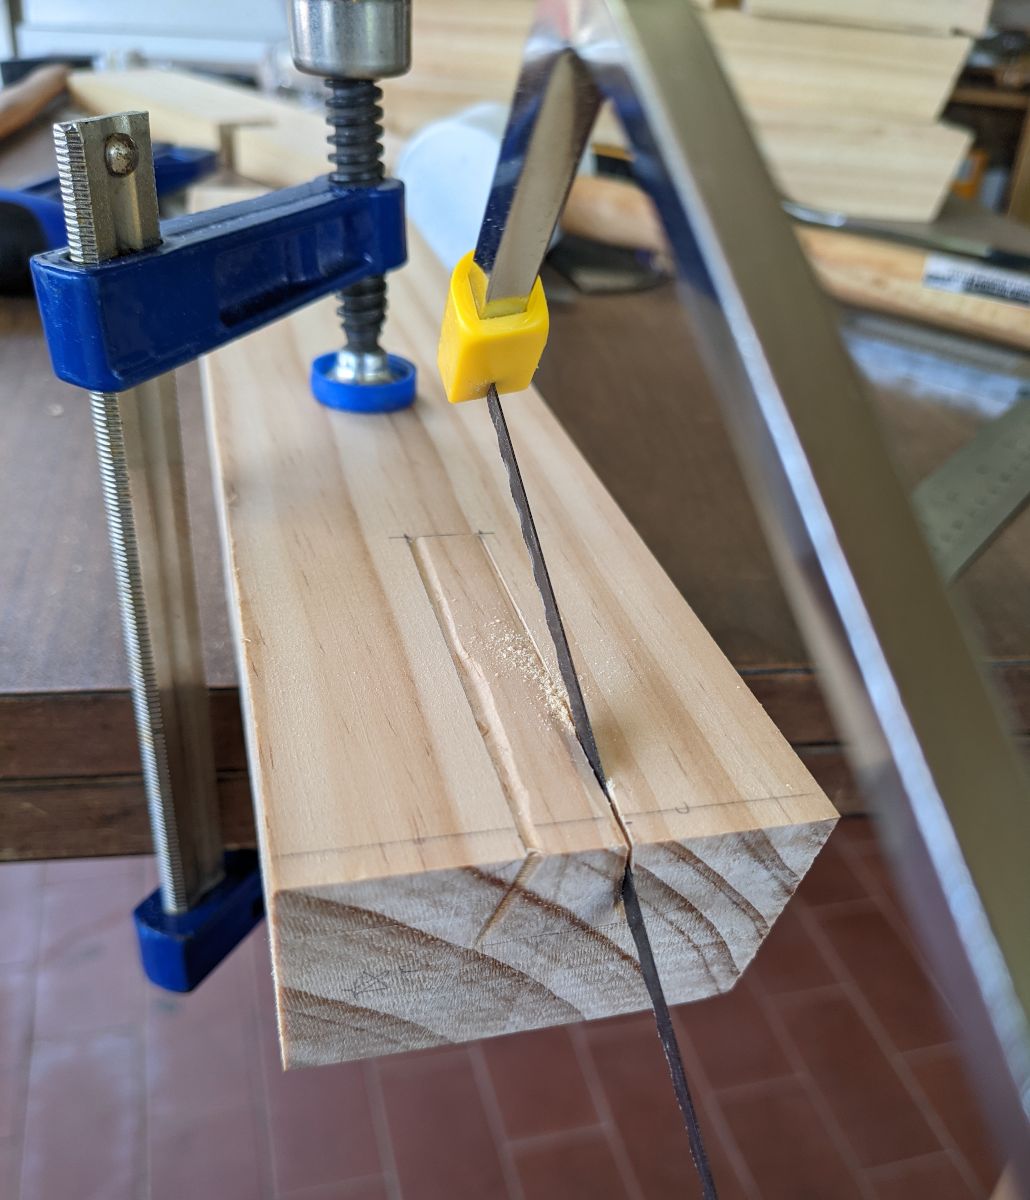
Sawing along the knife wall:
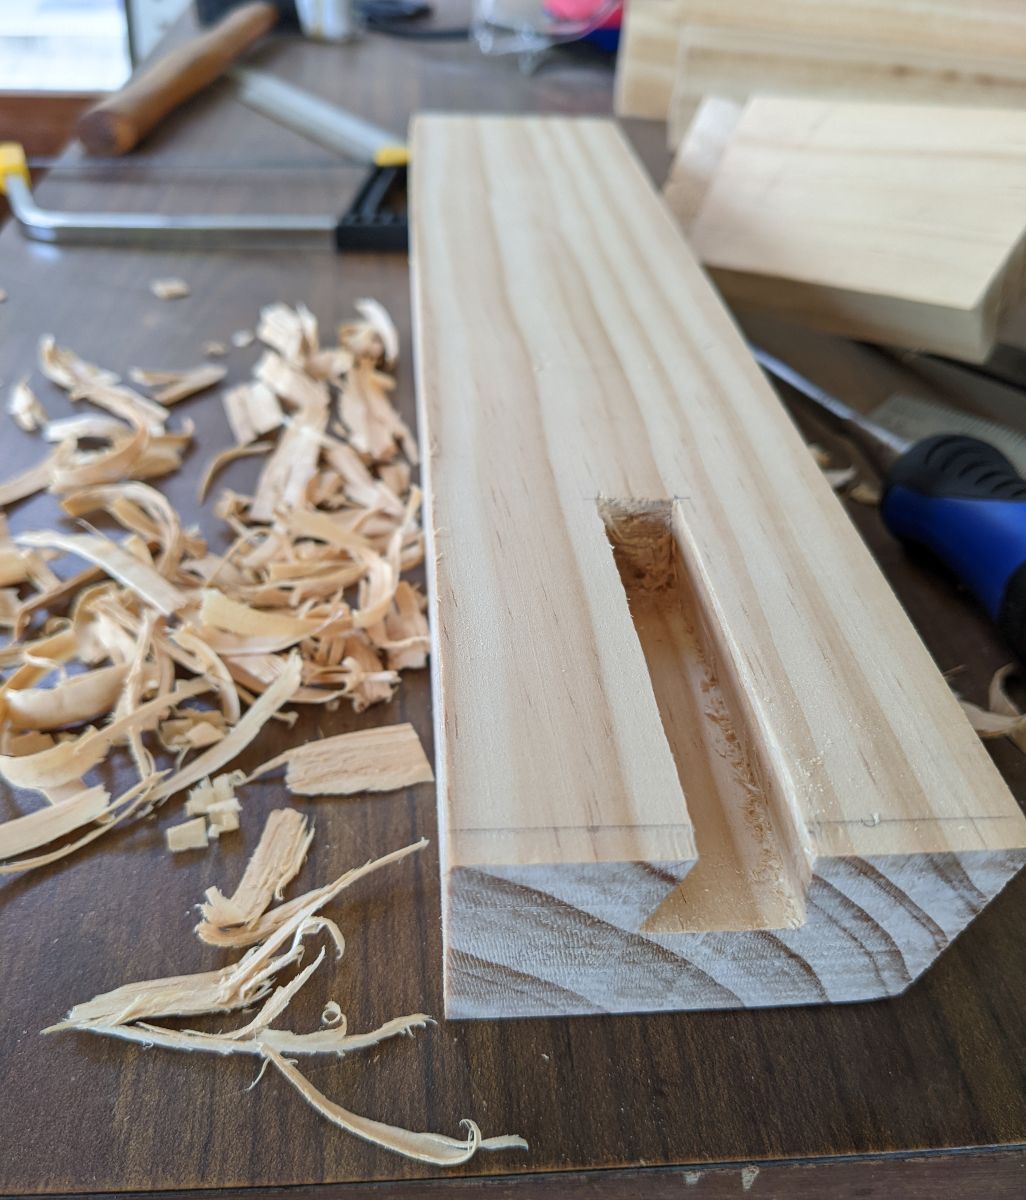
Then chiseling everything out:
Trying some test fits:


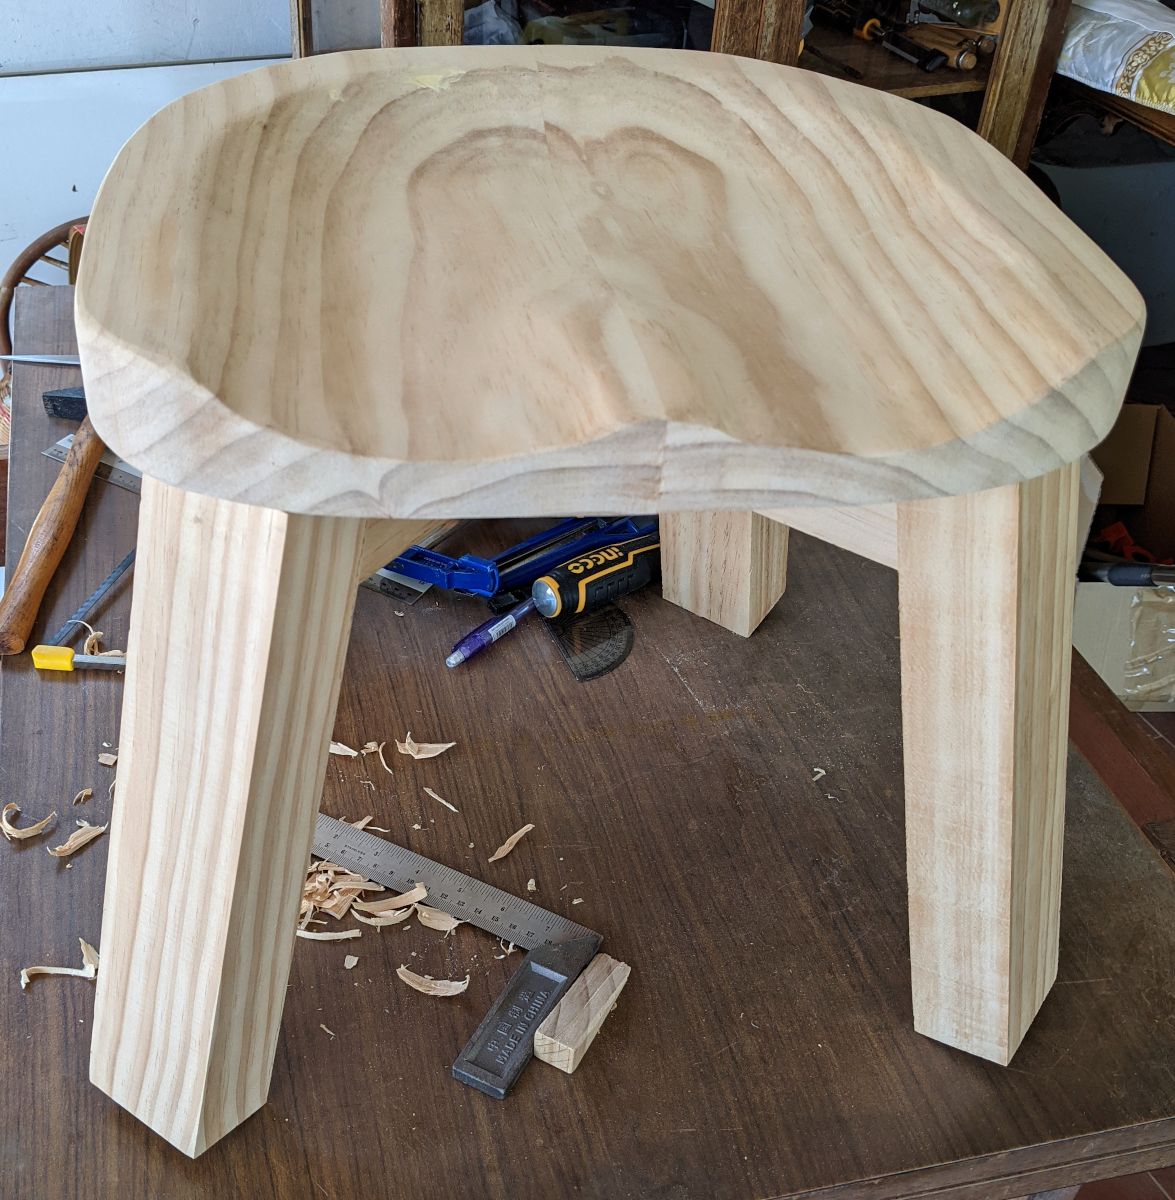
Chopping off the bottom (pencil crosses on the right) of the slanted legs:
Routing the legs to roundover their edges (routed on left):
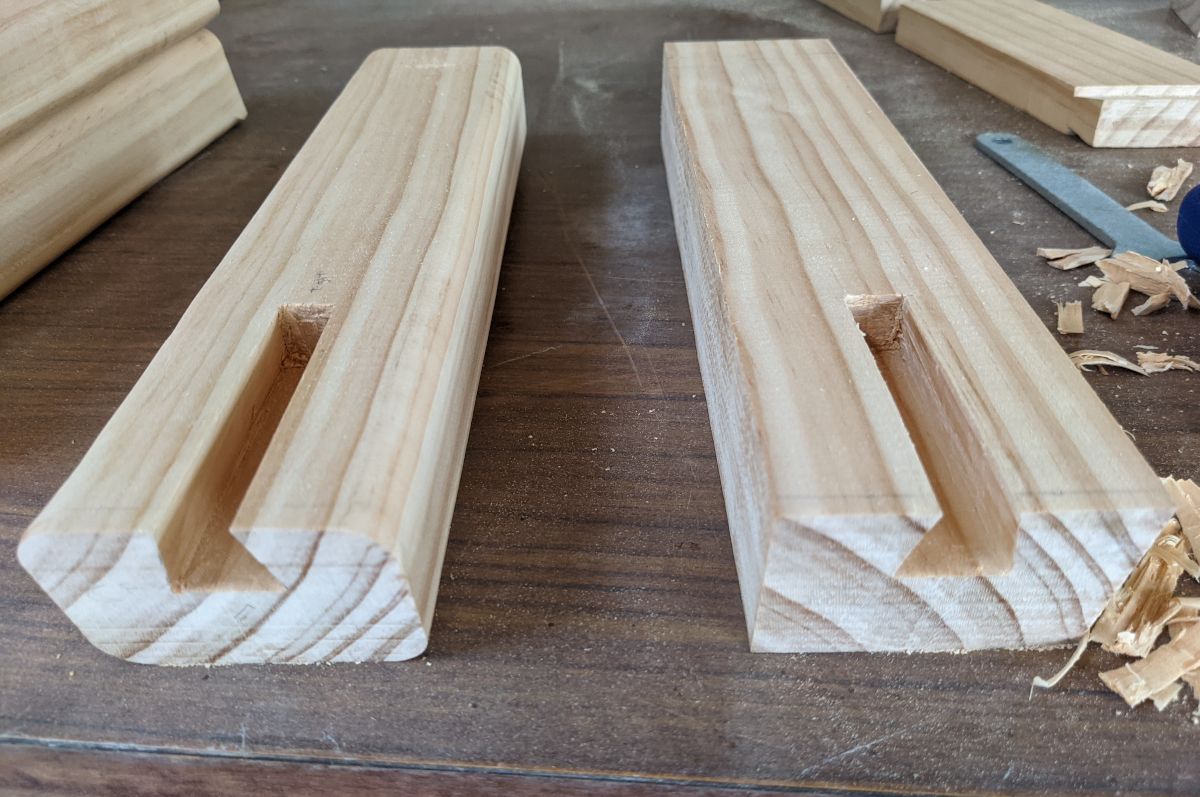
Feels good:

All prepared for sanding:
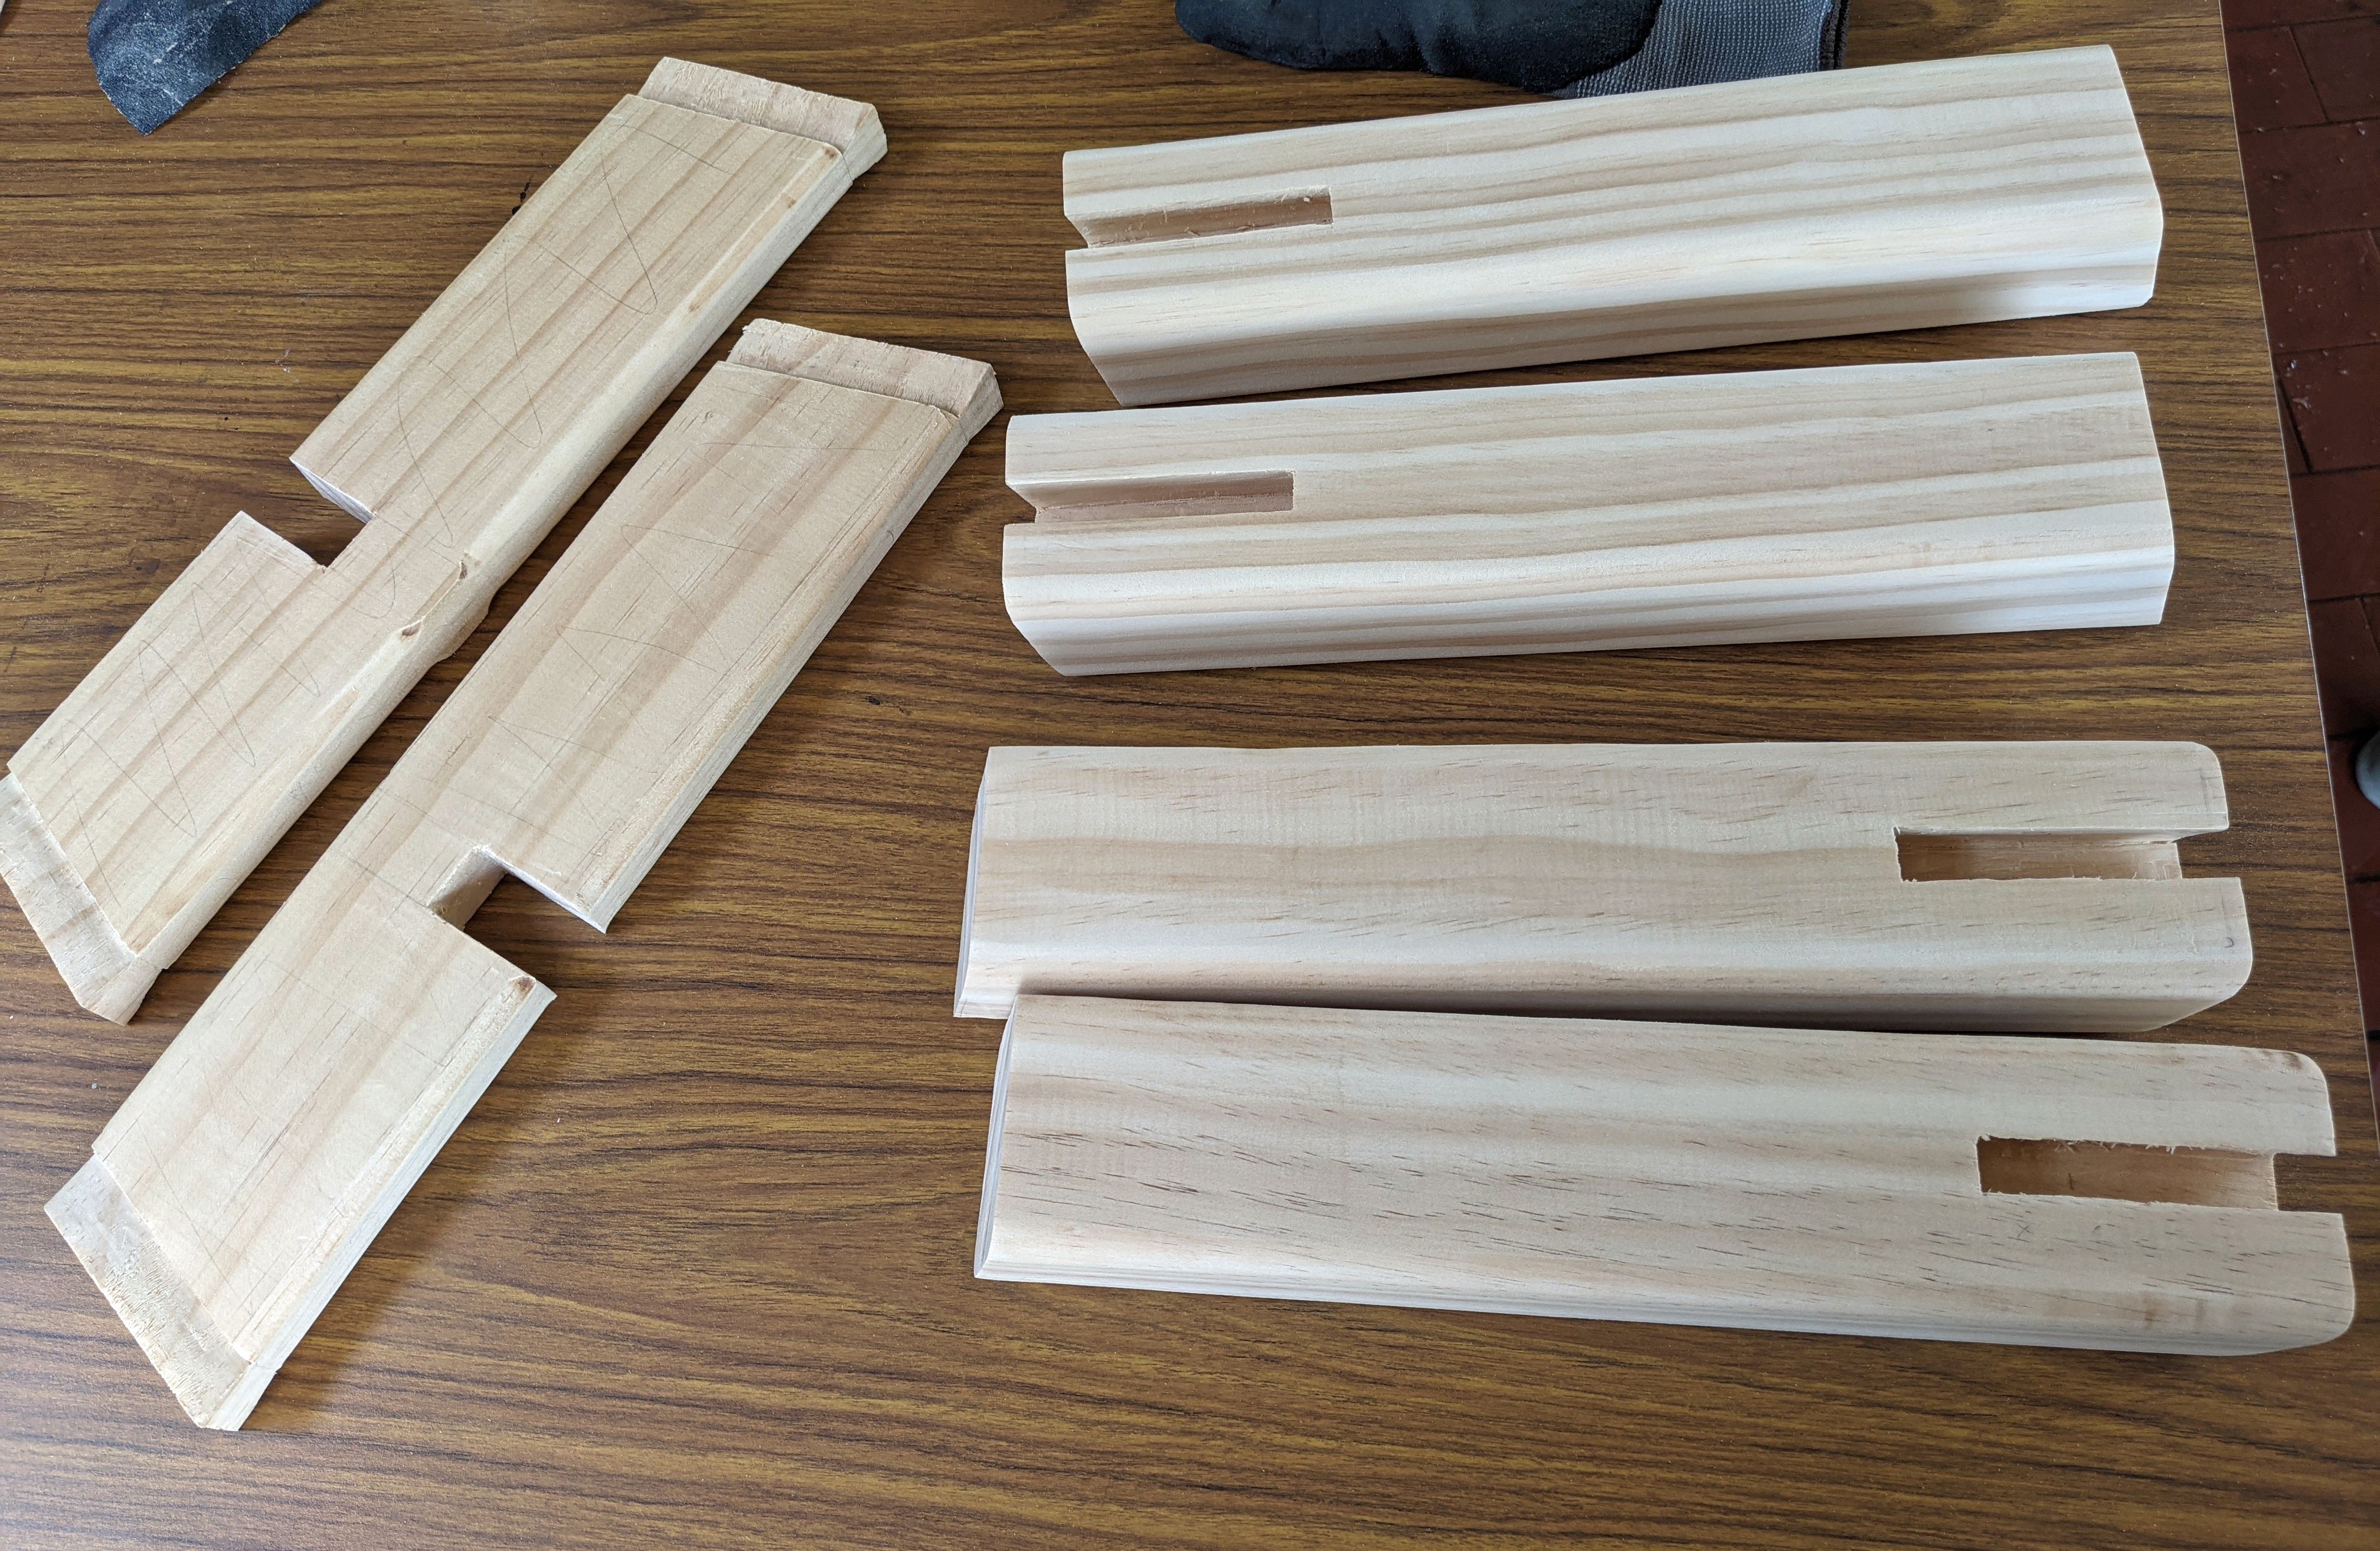
Another big learning from this project - don't sand your joints and make them loose:

Now the cross bracers were too wobbly, did a hacky repair job by gluing some shims:
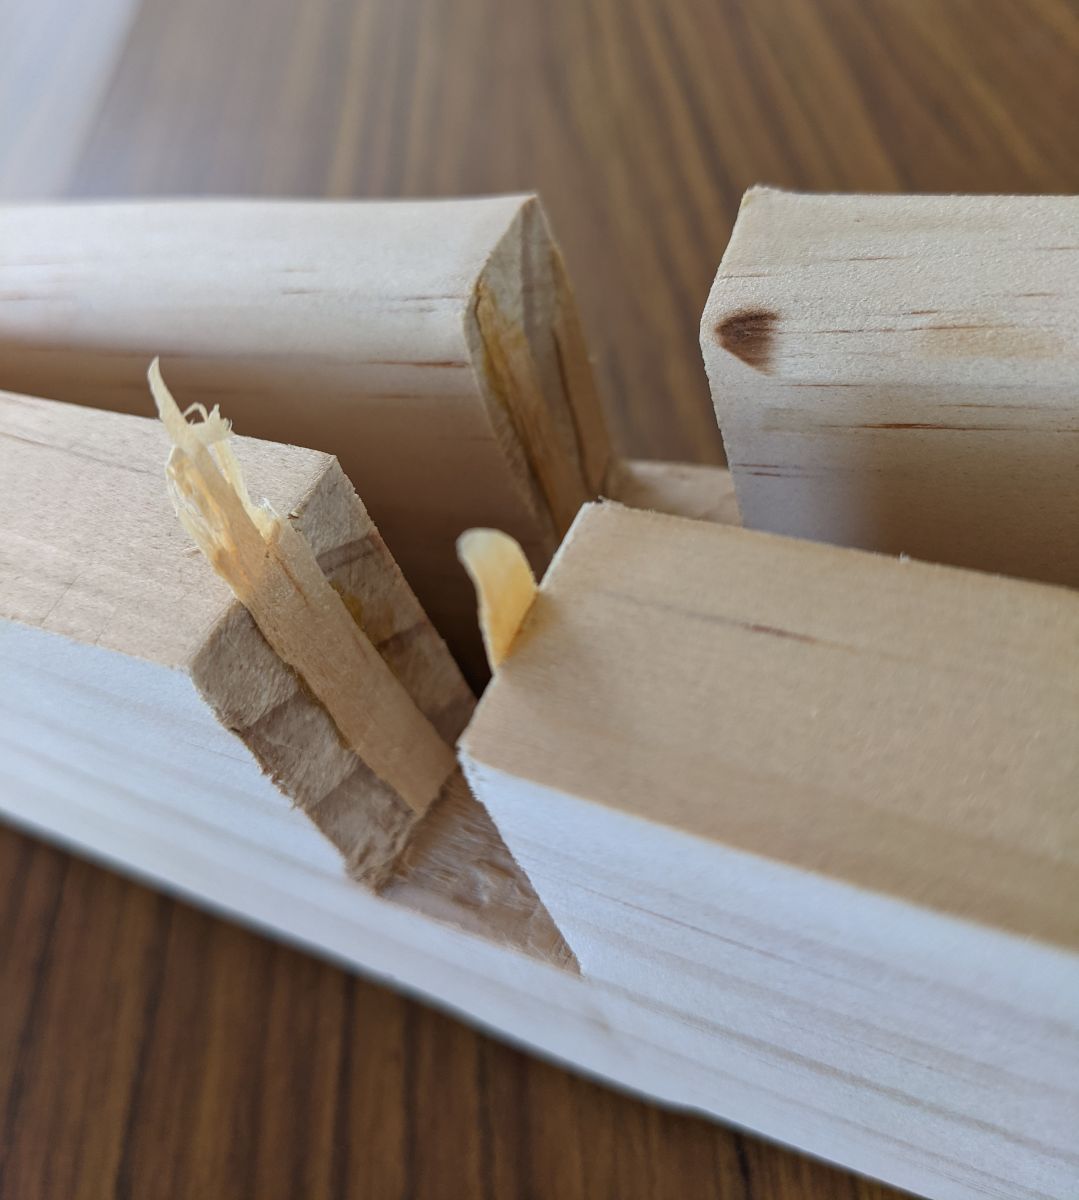
The discarded ends from the 4 legs ended up convenient as some wedges to hold the shims in place during gluing:
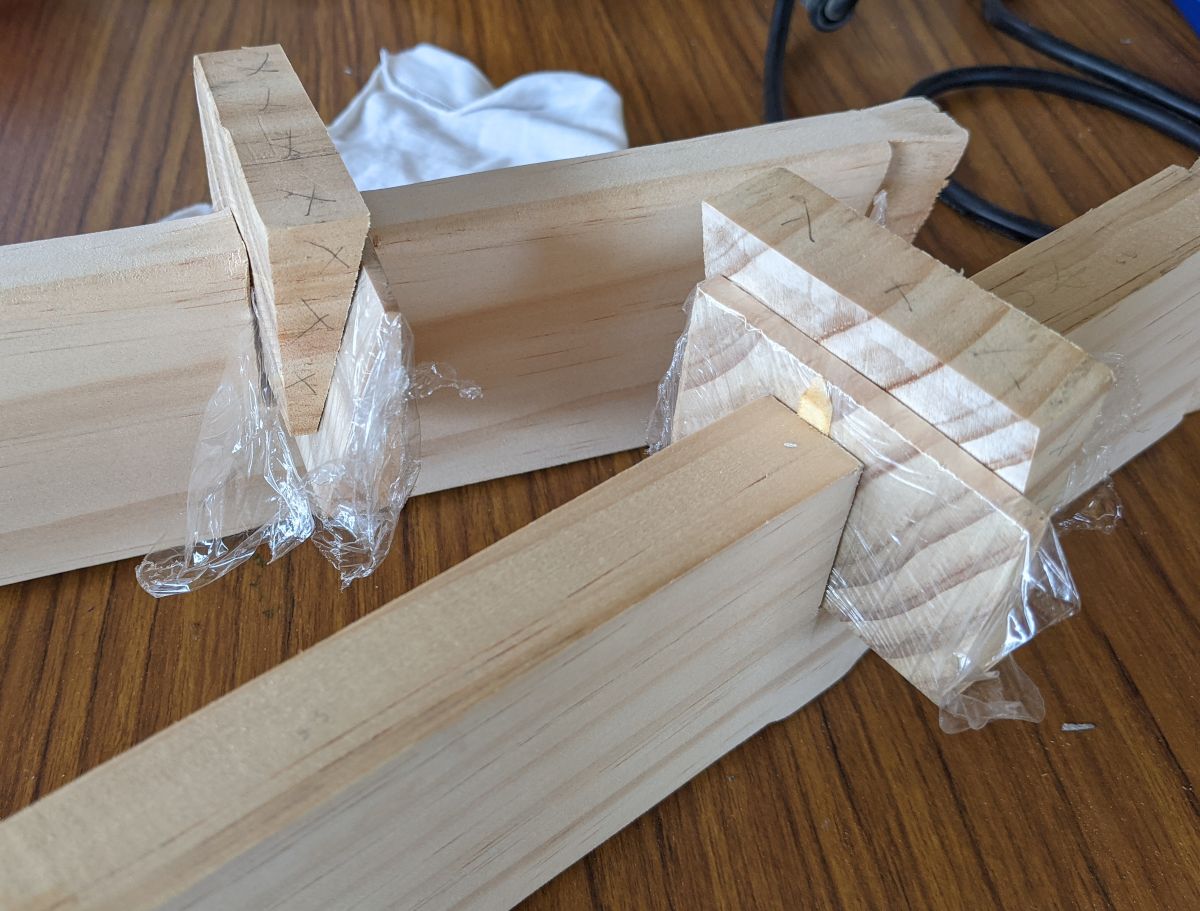
Time to put everything together - inserted some dowels, applied glue, hammered everything into each other, and applied gluing pressure:
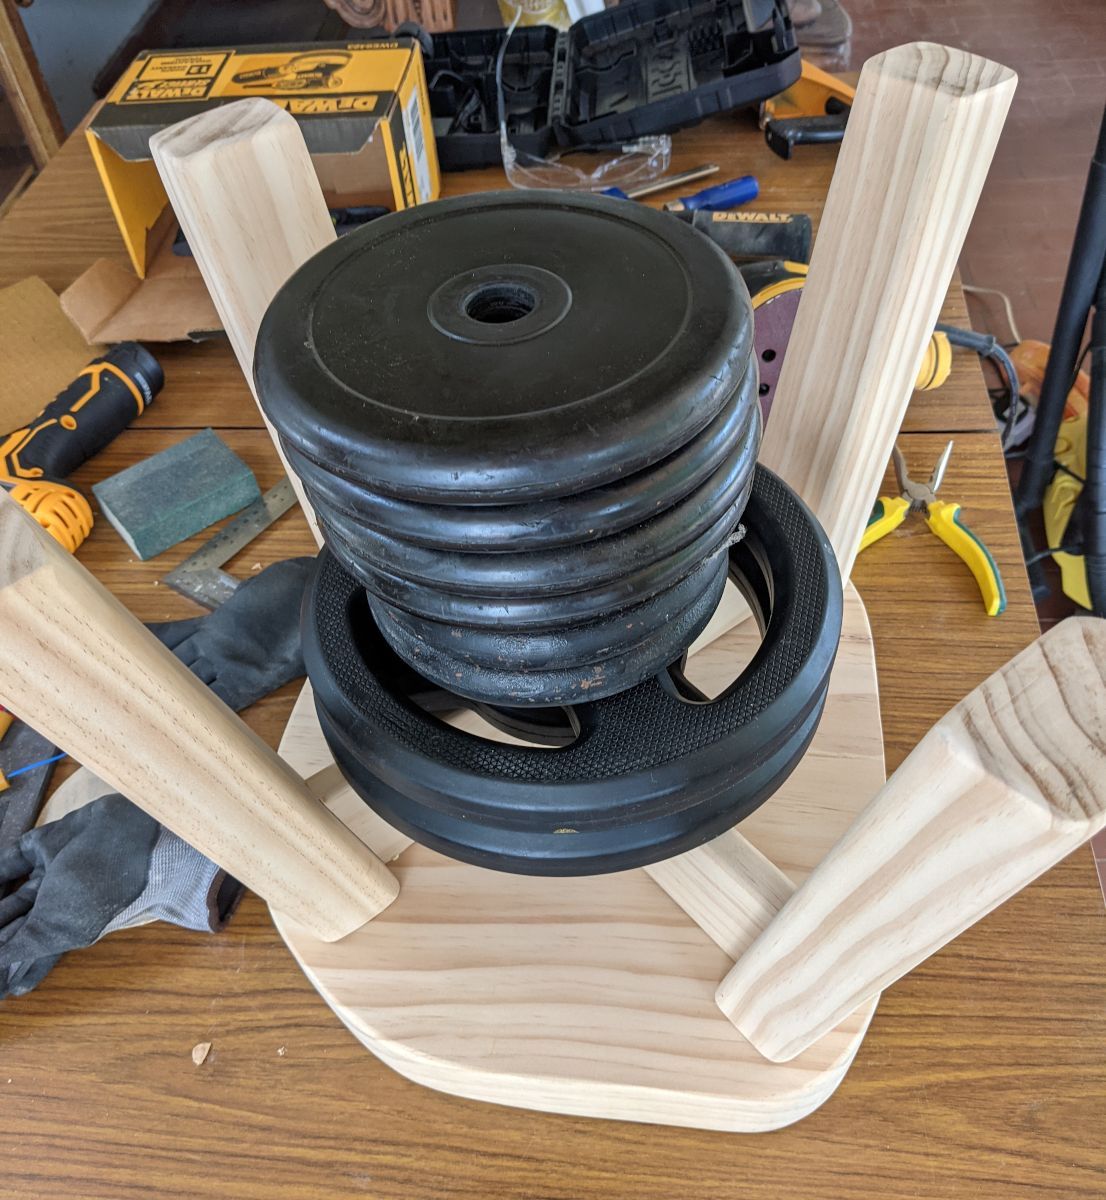
Then varnishing the bottom:
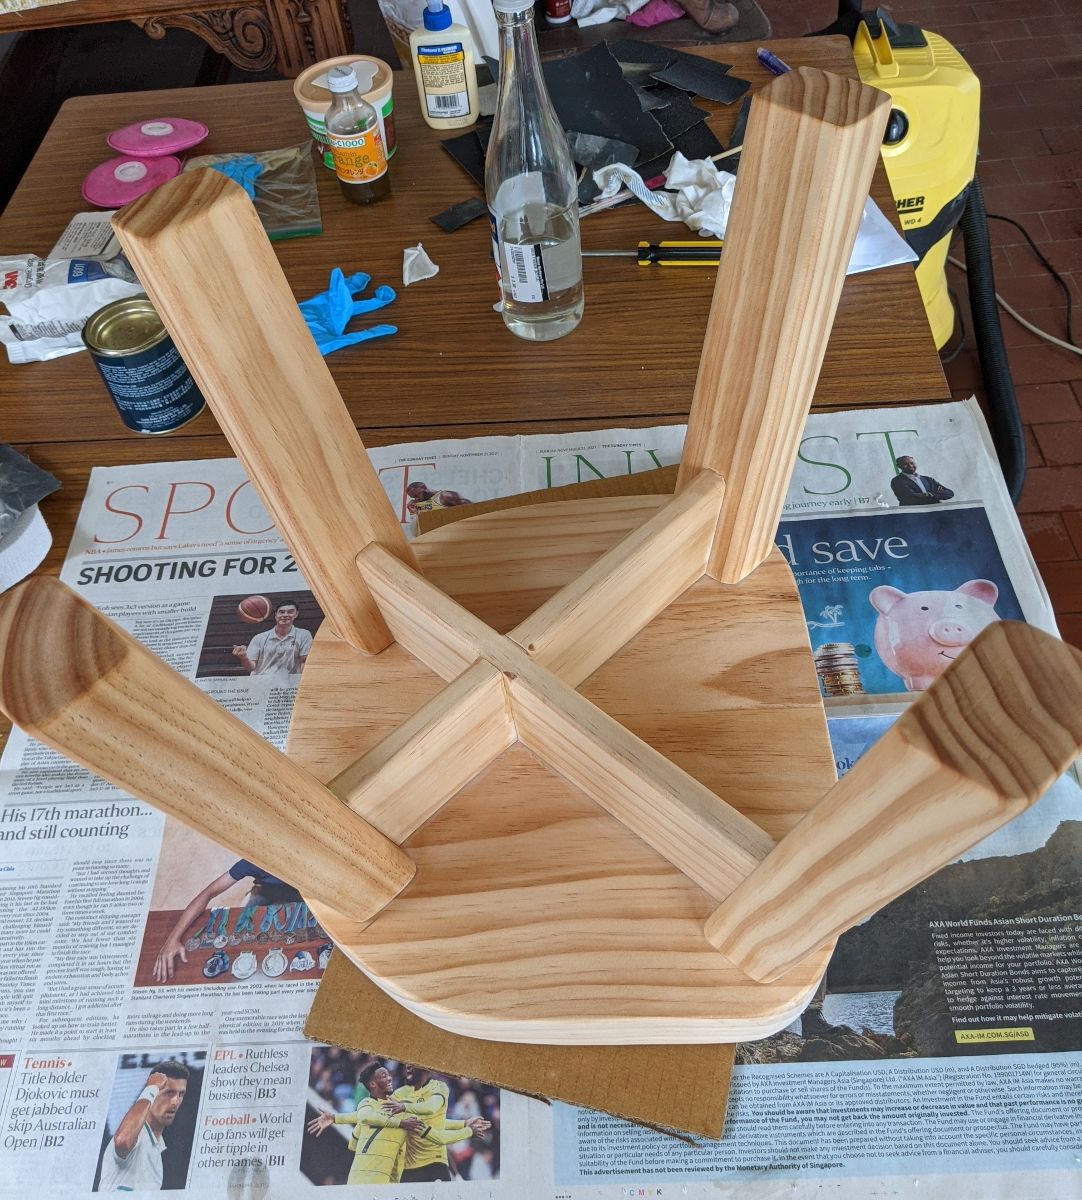
And varnishing the top:

And done!

How does it perform? It's indeed nice to sit in (as long as you aim your butt right). And it's stable enough for a 2-year toddler to climb all over without any real risk of tipping over. In that sense, it's met its goals.
While designing this stool I was considering mostly structural rigidity + ease of building, hence why I did diagonal cross bracers (2 bracers instead of 4, cross supports the center of the seat).
What I didn't consider at all was wood expansion/contraction in the long term (due to moisture changes) - I only found out about this halfway through the project. By fastening the pieces with their grain diagonal to each other, internal stresses can occur as wood moisture changes... so there's a chance this chair splits/cracks a few months down the line.
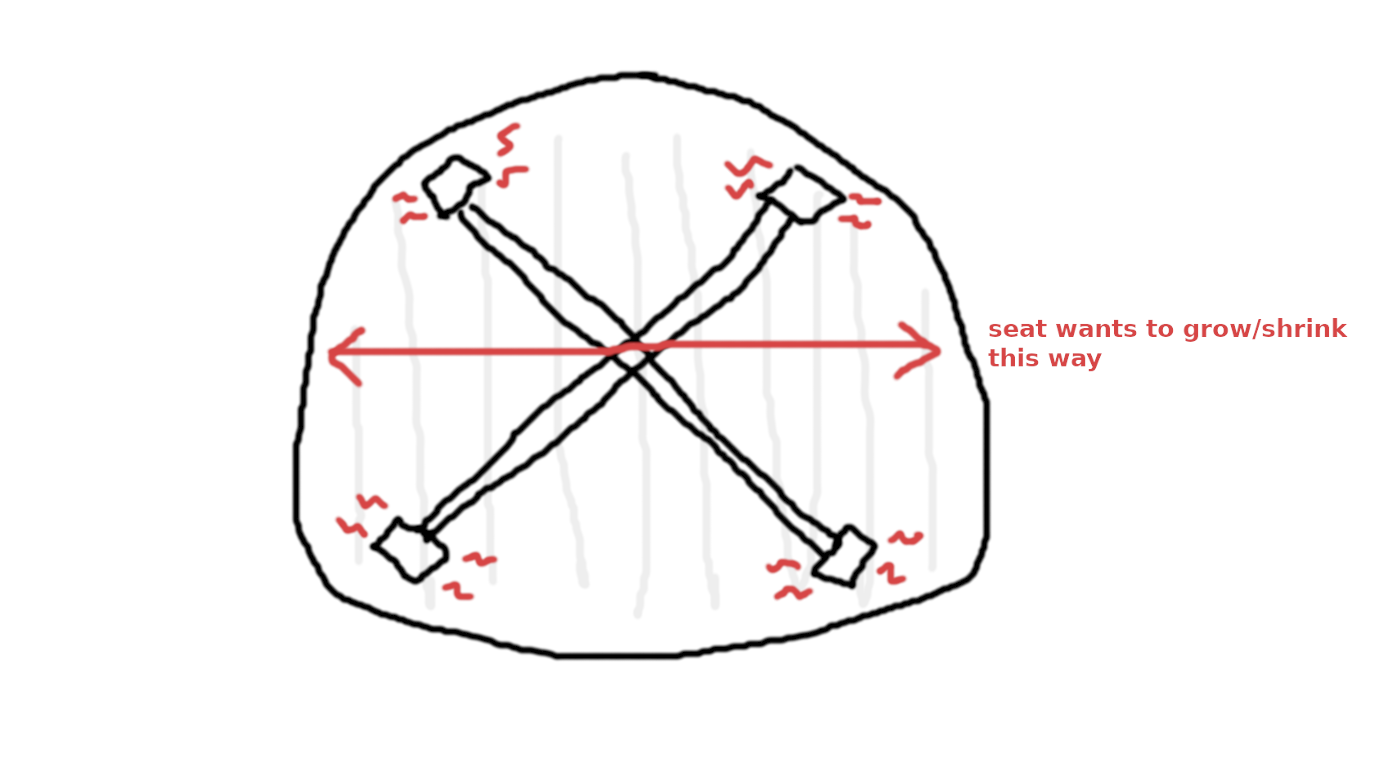
Probably explains why we rarely see proper chairs arranging their bracers diagonally.
At the time of publishing, this stool is close to 2 months old - it hasn't broken apart yet. So hopefully I can get away with it - though if I were to make a future stool, I would not replicate this design as is.
a website footer